 |
|
 04-29-2017, 02:29 PM
|
#181
|
|
Senior Member
Join Date: Feb 2009
Location: St. Paul, MN
Posts: 1,819
|
Great minds think alike. hahahahahaha
__________________
__________________
'03 Freightliner FL112, 295" wheel base, with '03 United Specialties 26' living quarters, single screw, Cat C12 430 h/p 1650 torque, Eaton 10speed , 3.42 rear axle ratio
|

|

|
|
05-01-2017, 09:52 AM
|
#182
|
|
Senior Member
Join Date: Oct 2014
Location: Seattle
Posts: 227
|
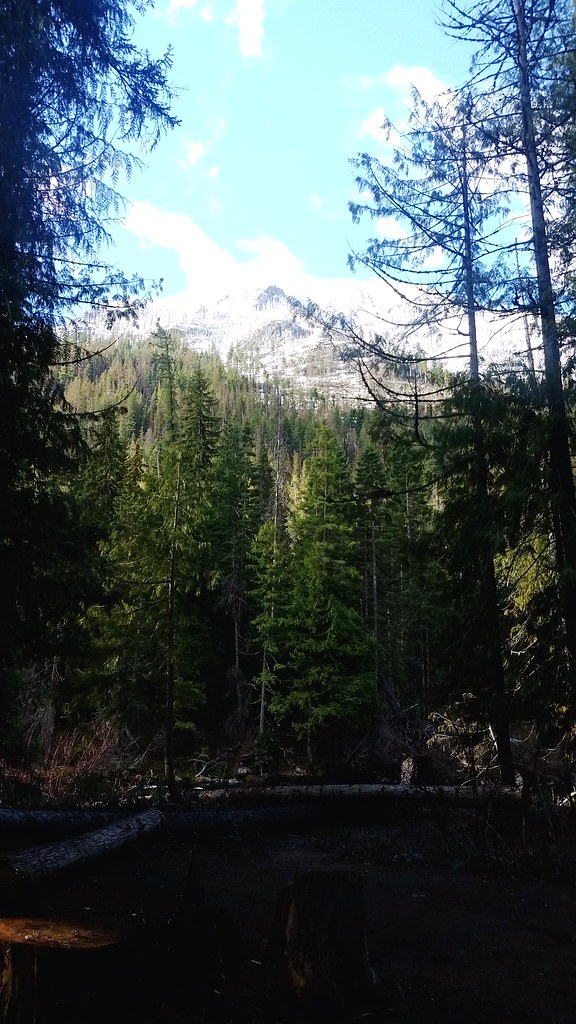
Tried to get to one of our regular spots. Ran into 8-10" of wet sloppy snow that was more than we wanted to try to get through solo.
Oh well. There is a nice quite CG close by
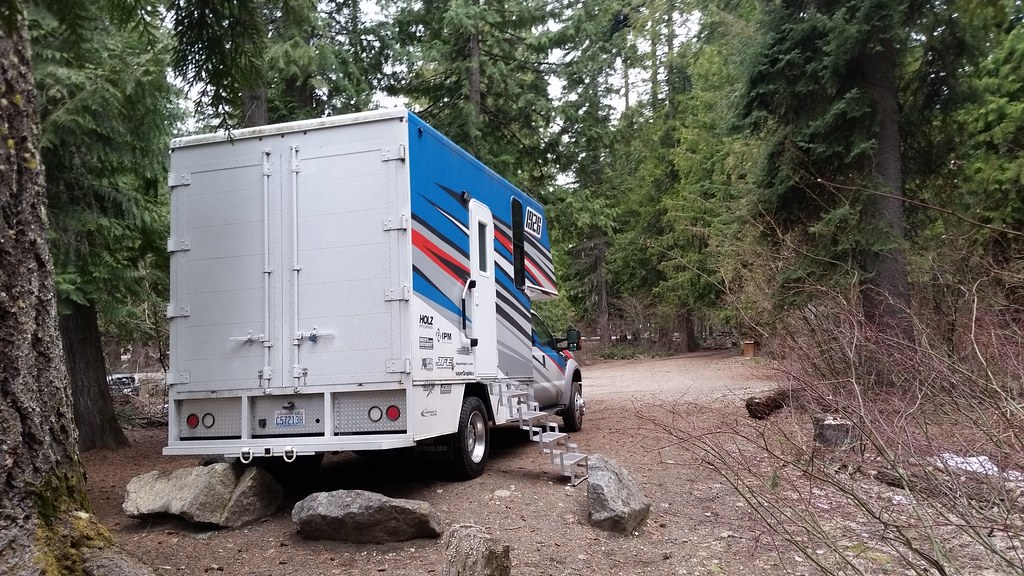
Snow wasn't far off.
This was a first long stretch of gravel we had done, not too bad on the smoother sections but the pot holed areas were brutal. Like 10mph crawl at best, otherwise I thought I would break the truck. This has me thinking about wheels/tires/lift/springs etc. Ill take any input here....
A couple things, these are G rated tires (IIRC!) 14 ply sidewalls. Great on the highway, fine on smooth gravel, ouch in potholes. Has anyone had experience going from a 19.5 tire to a 20" LT? Or too a less load rated 19.5?
Or will a spring change (kelderman airbags in the front?) make more of a difference? It felt like it was front end for the worst of it....
|
|
|
|
|
05-30-2017, 10:50 AM
|
#183
|
|
Senior Member
Join Date: Oct 2014
Location: Seattle
Posts: 227
|
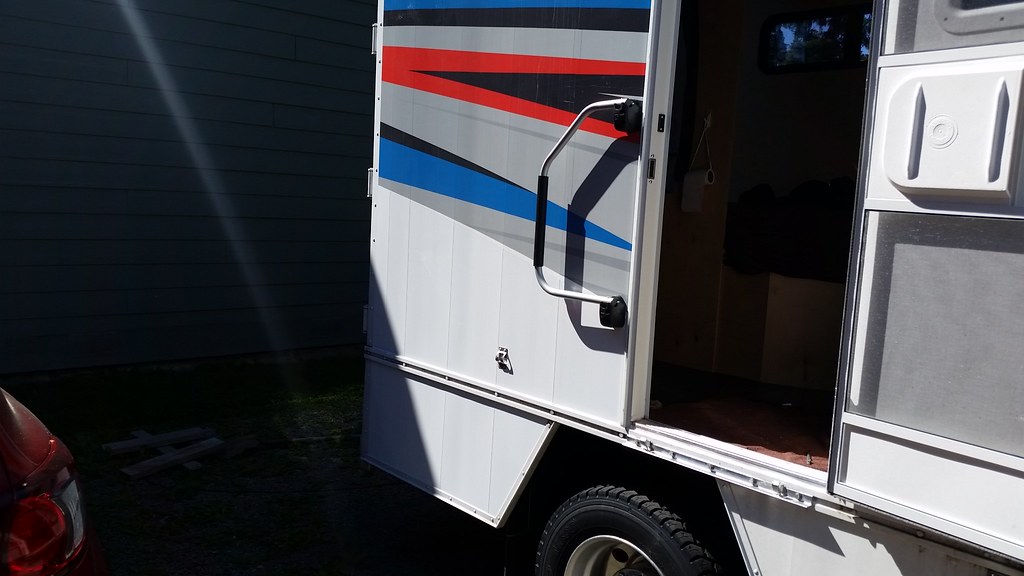
BTW the Rinse thing works great! Shoots straight to the back of the tank.
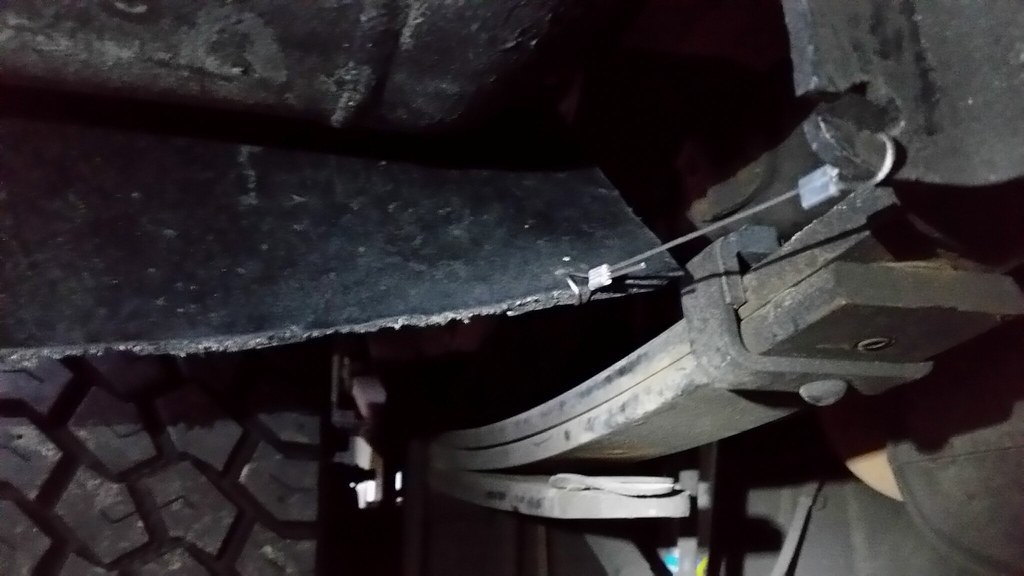
Propane tank mud flap is done, man are those things hard to cut!
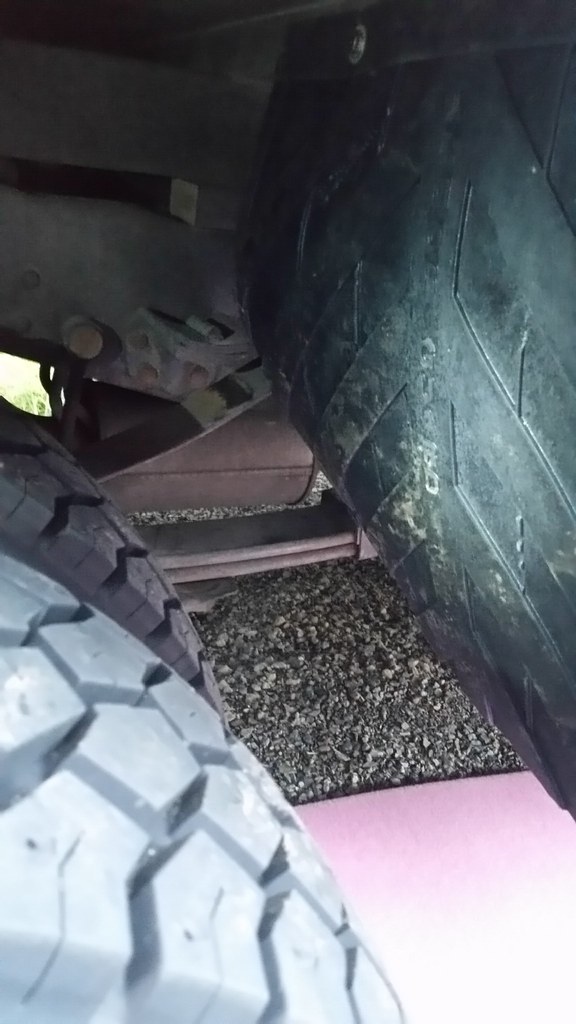
Bolted to the body on the outside
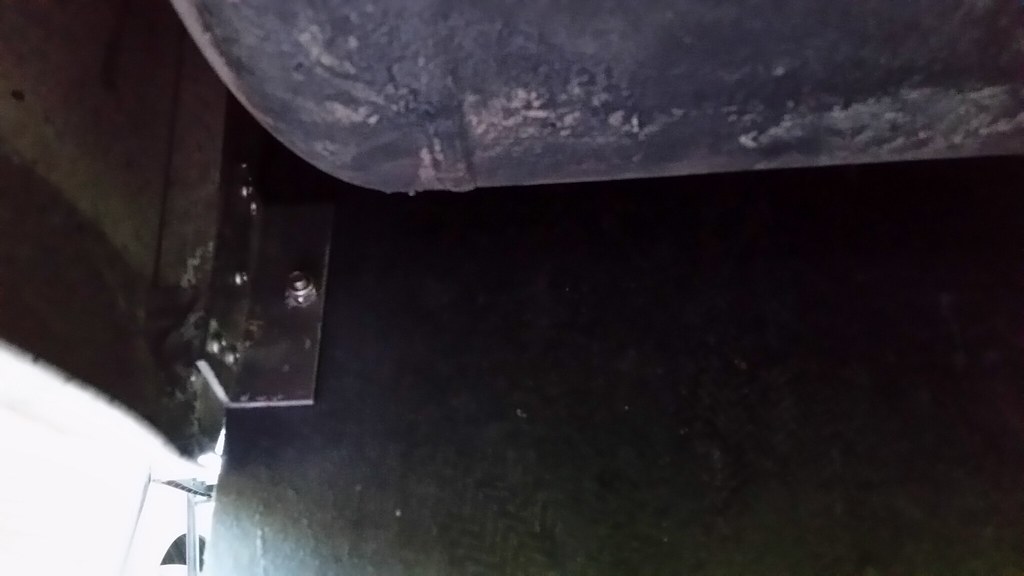
and a piece of cable on the inside. Hopefully this keeps it off the tire. Handy slot/hole was already in the spring hanger, I think it will stay put.
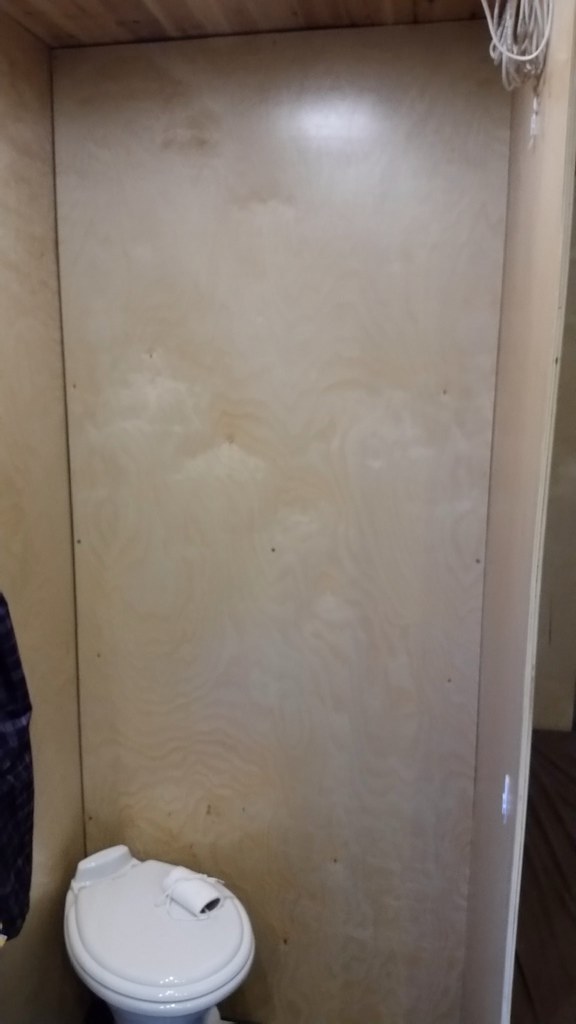
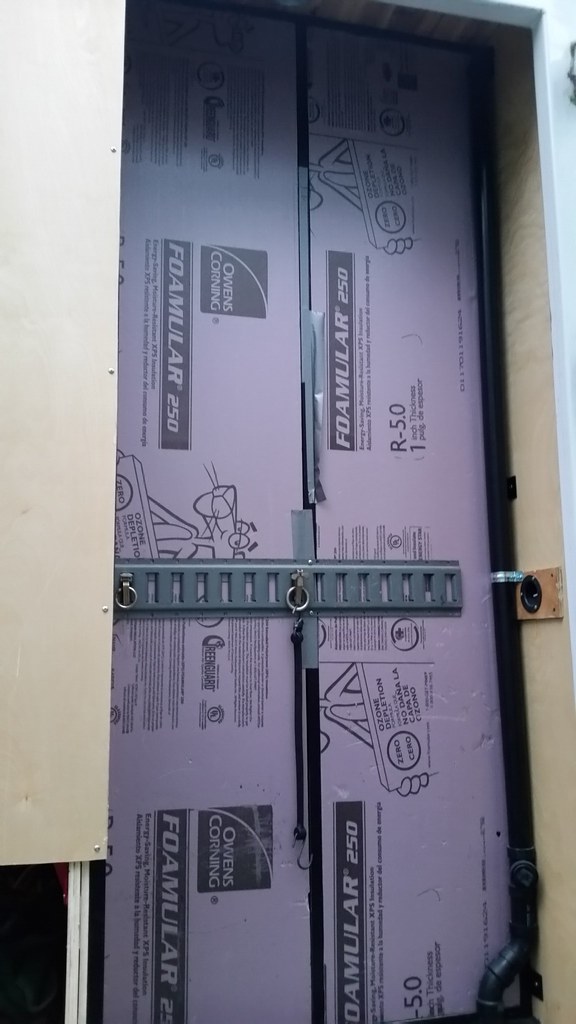
Finished up the last big wall panel, still lots of trim work, and skinning the door. But this piece keeps the insulation in place and give it a much more complete feel.
|
|
|
|
|
05-30-2017, 10:50 AM
|
#184
|
|
Senior Member
Join Date: Oct 2014
Location: Seattle
Posts: 227
|
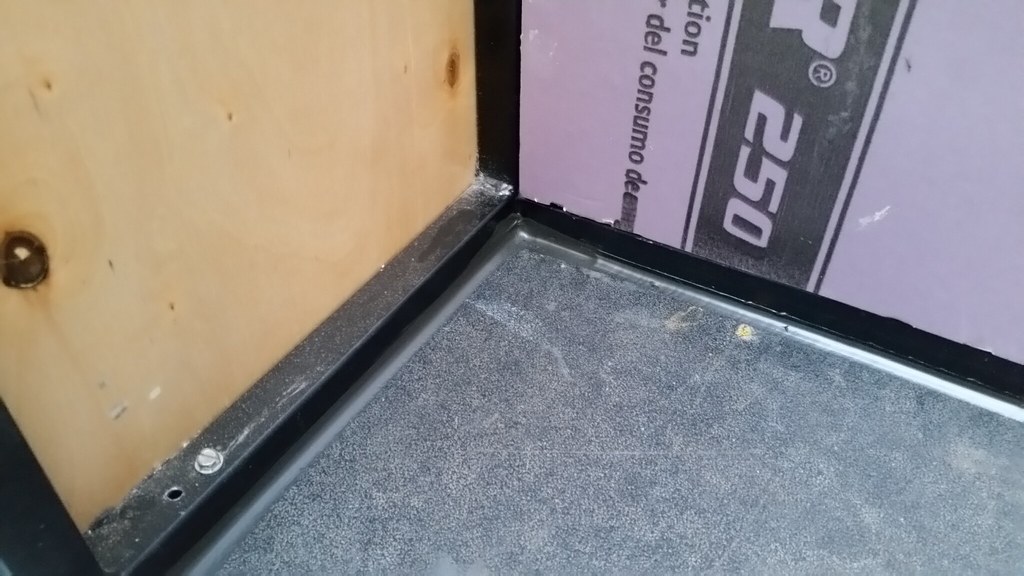
Caulked in the back side, this is kinda a "wet room" skis, ez up sleds etc. That should keep the water from running under the floor into the living space. There is a fair bit of storage back there, but I wish I had made it 1" deeper....
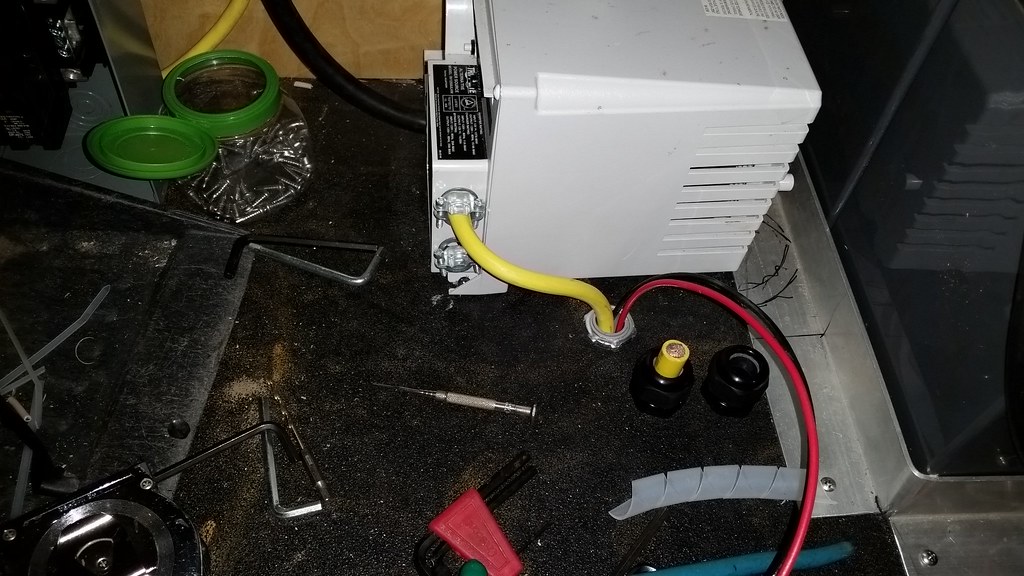
Got the inverter mounted, and the hot side cable done. Man everything takes FOREVER! Climb under bed, forget some little piece/tool, climb out, walk to garage, climb back under bed. Repeat ad nauseum.
|
|
|
|
|
10-24-2017, 11:46 AM
|
#185
|
|
Senior Member
Join Date: Oct 2014
Location: Seattle
Posts: 227
|
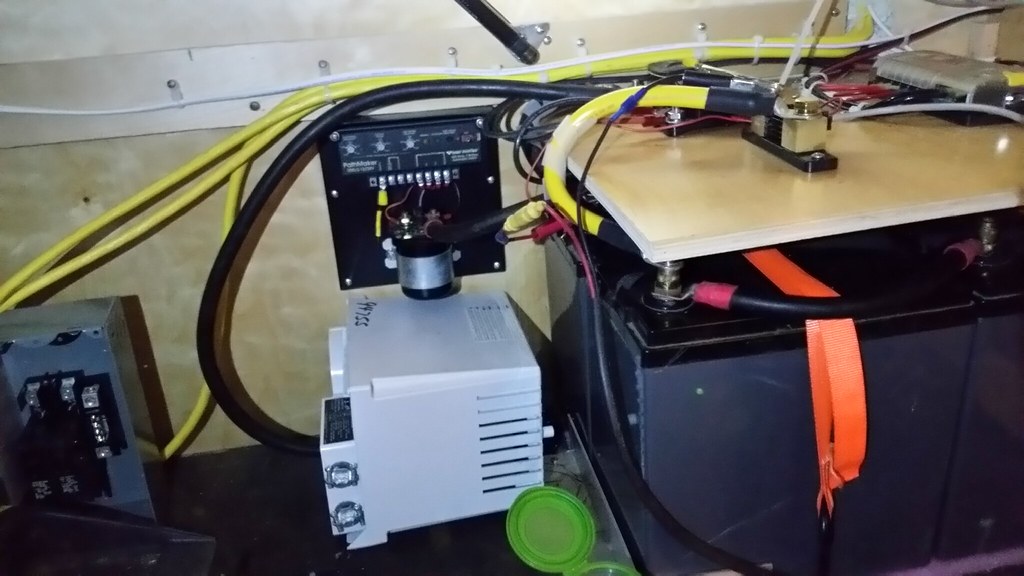
Long overdue update ........
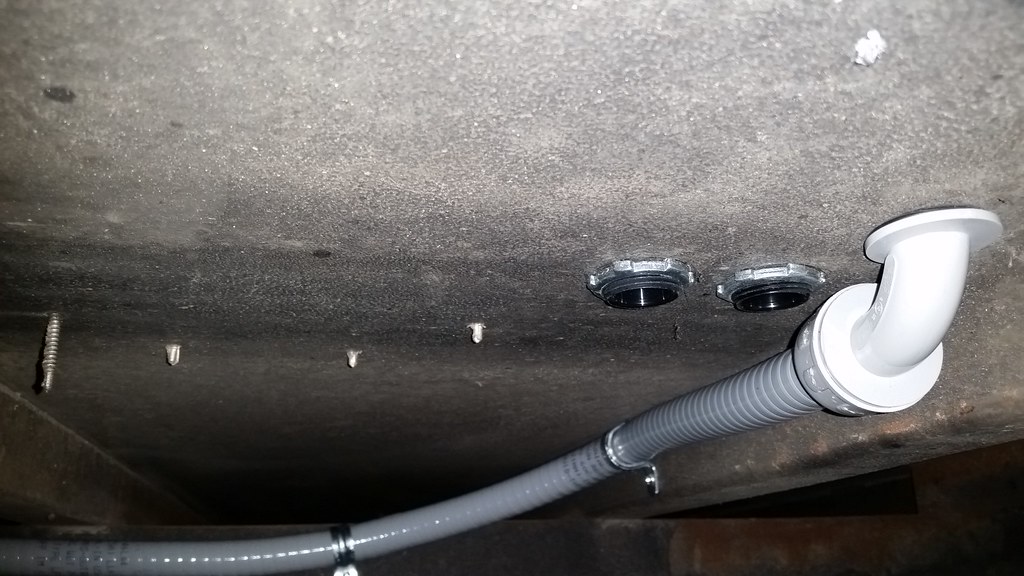
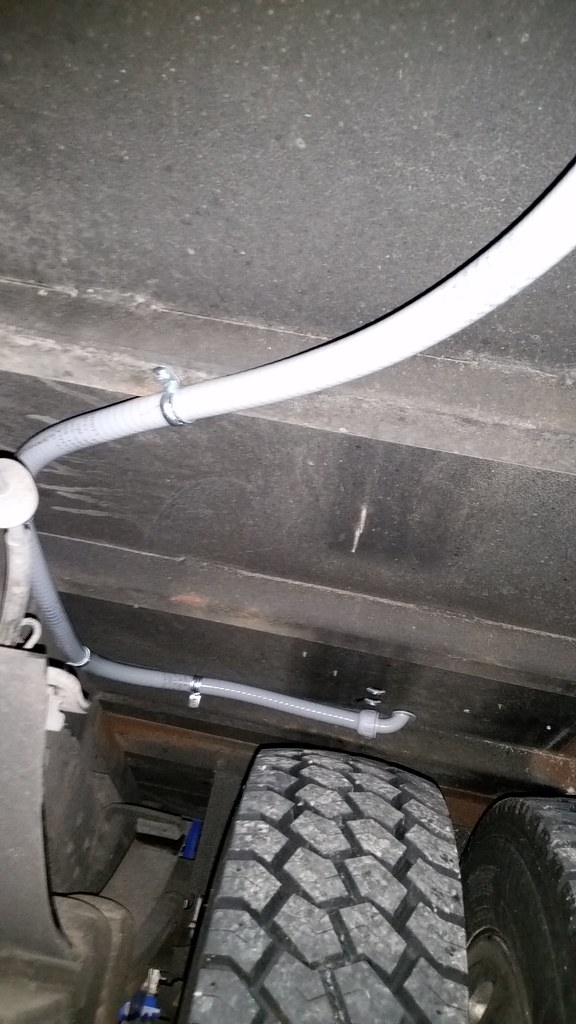
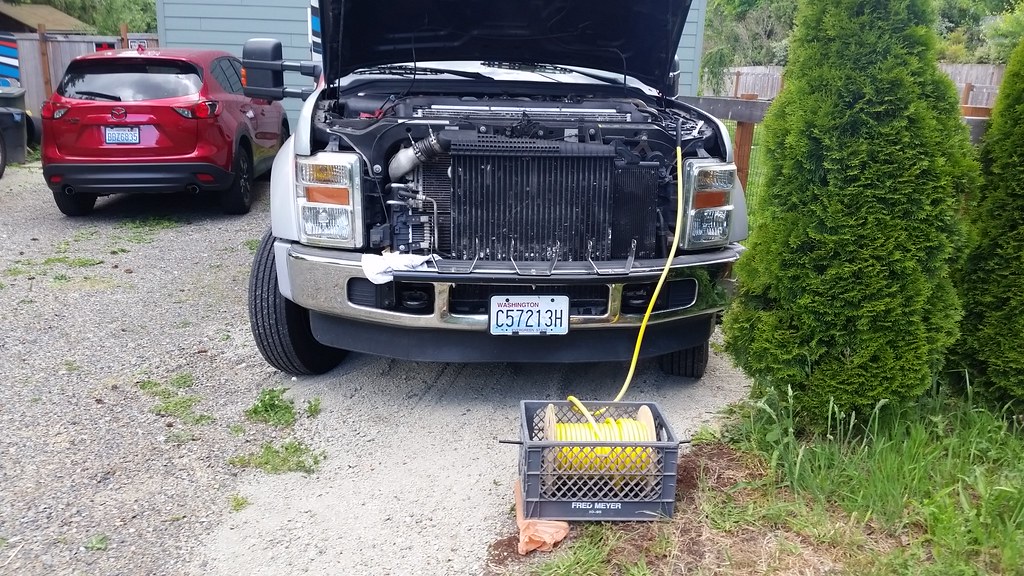
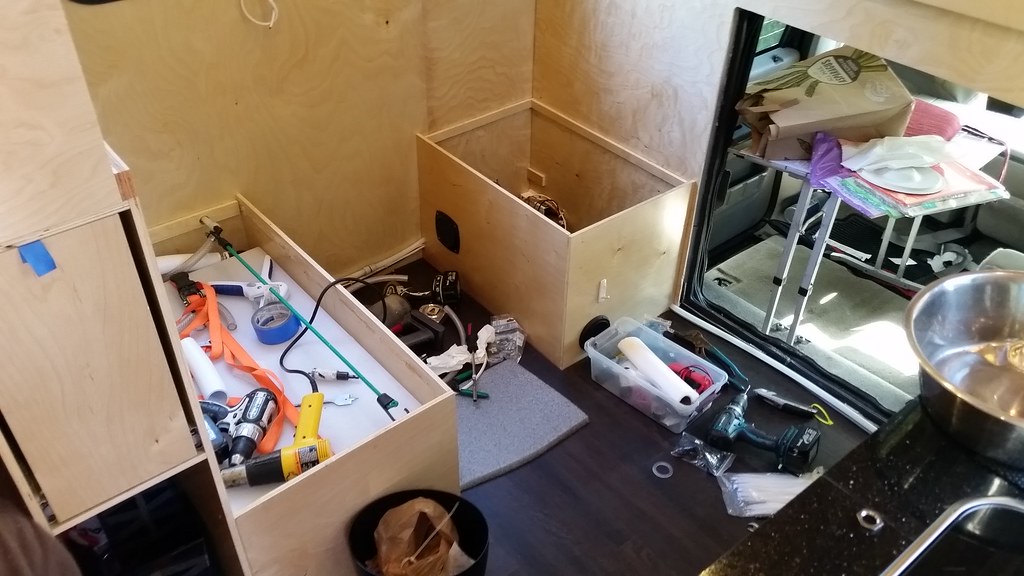
Charger is wired. Ran a piece of flextite conduit between the tool box on the drivers side and the battery area. This is so I can run my incoming power cable from there. Also ran a pair of 8 gauge wires for the solar hook up. The solar controller will likely be mounted next to the batteries though. The other two glands re for my 2/0 DC power wires.
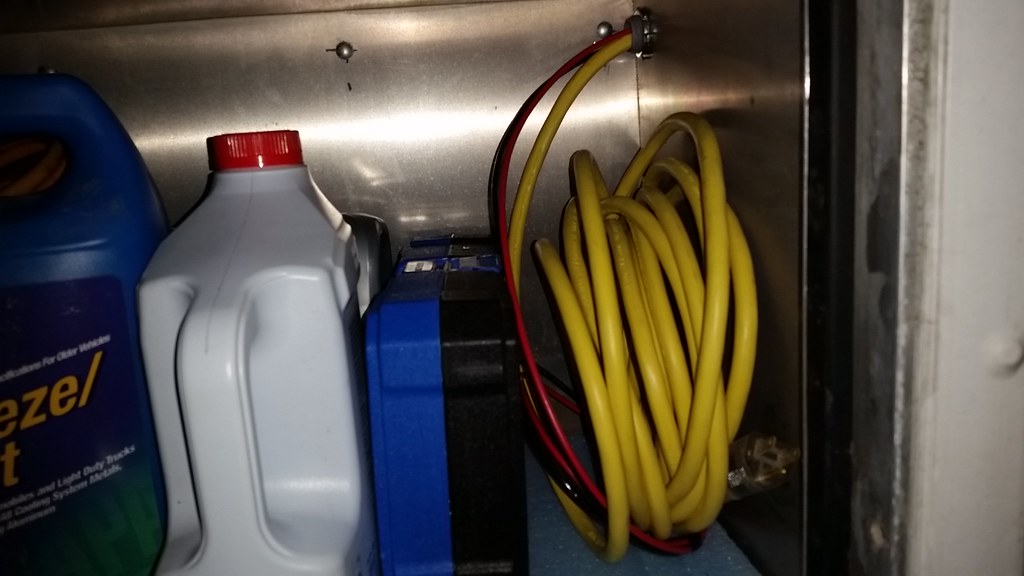
And in the box I have about 20' of 20 amp cord, and the two solar wires. Tools and fluids live there too.
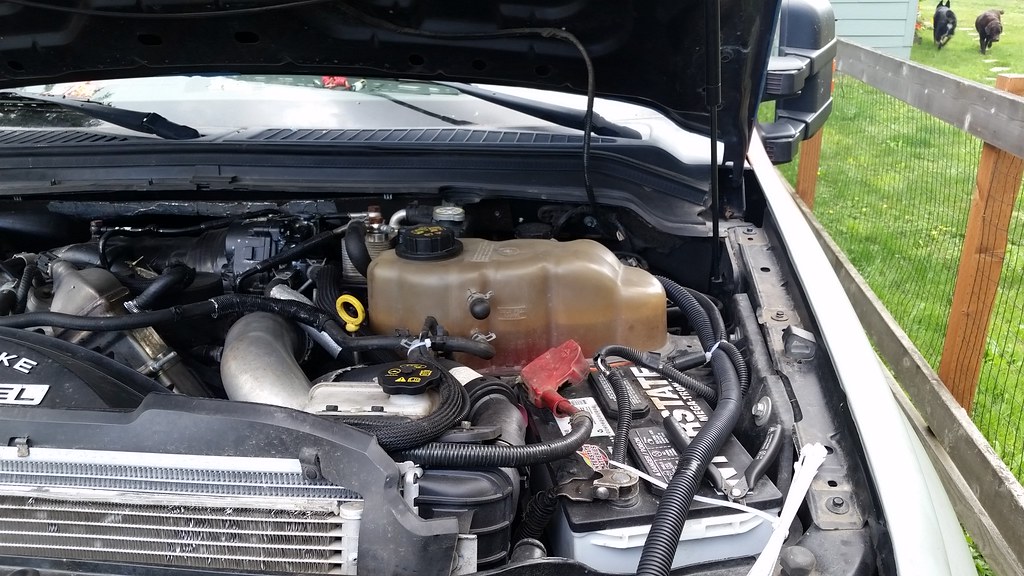
And wires up to the inverter charger.
|
|
|
|
|
10-24-2017, 11:47 AM
|
#186
|
|
Senior Member
Join Date: Oct 2014
Location: Seattle
Posts: 227
|
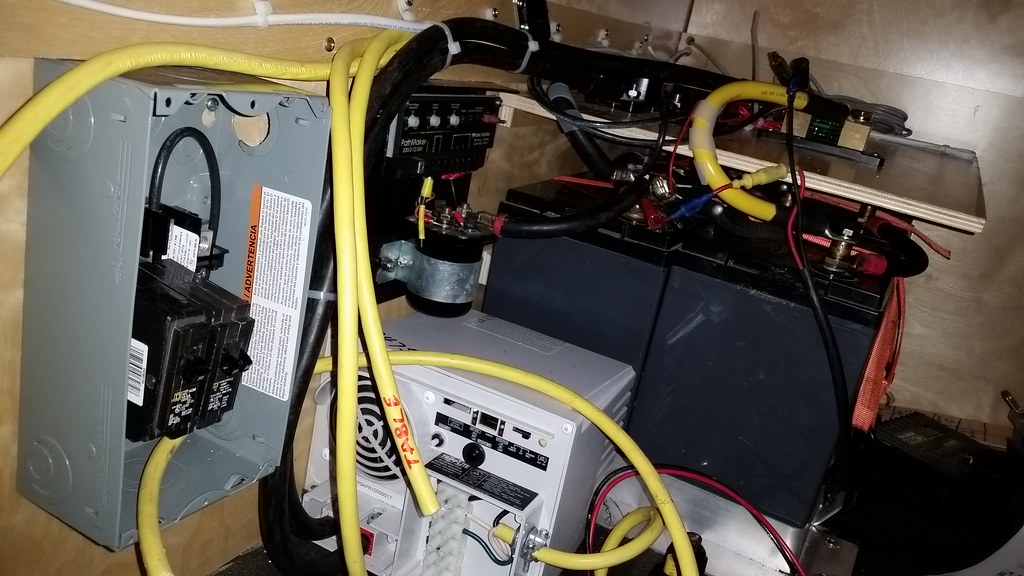
Also started on my 120V breaker box.
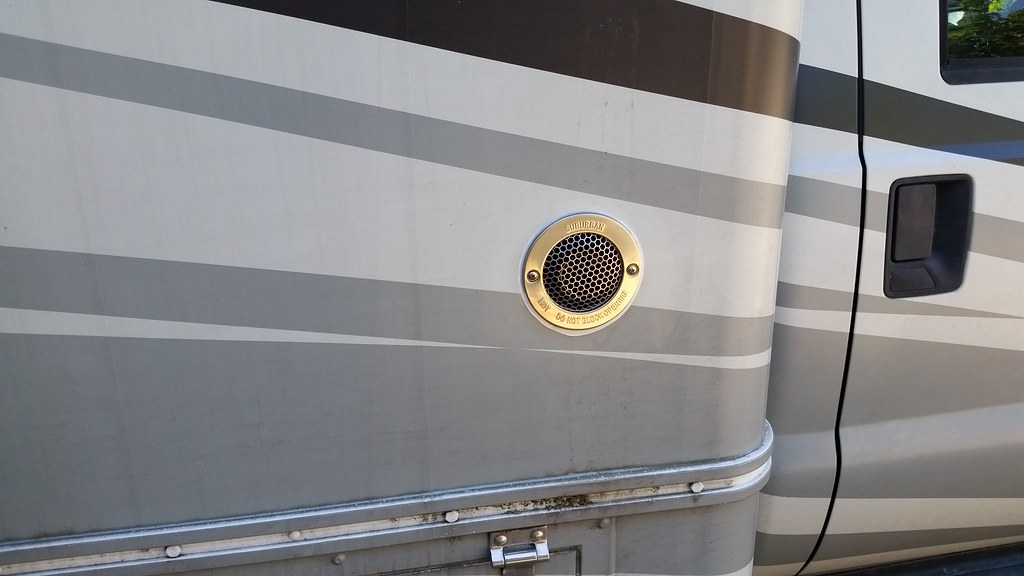
Then it was time for more holes..... Water heater intake/exhaust.
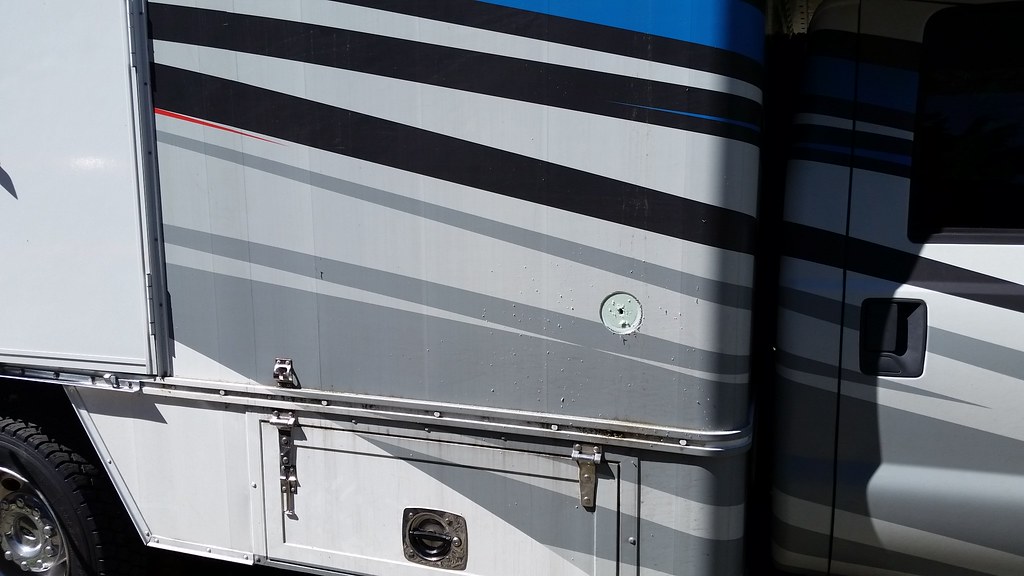
I even managed to get the hole from the inside and outside to line up

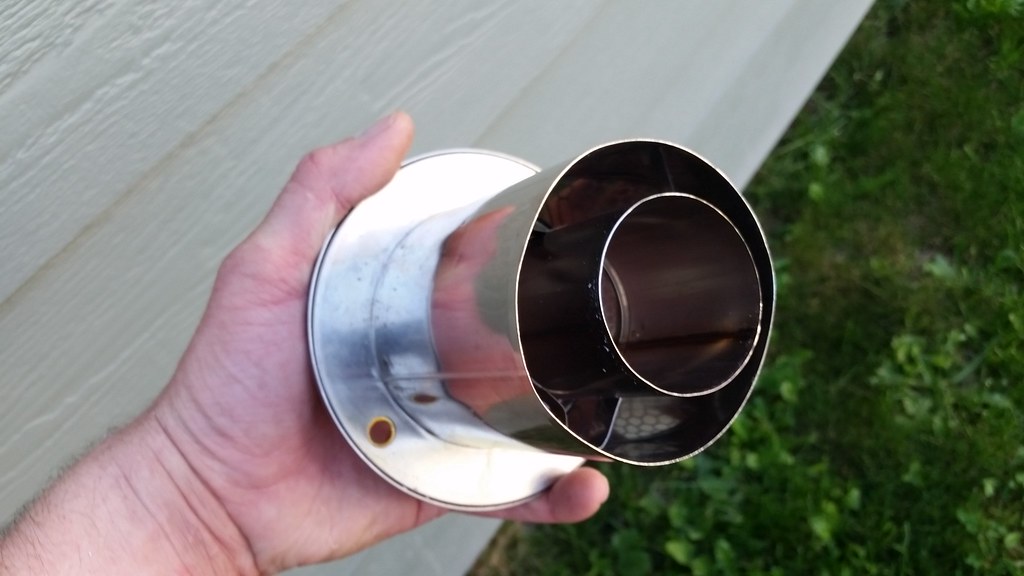
Its a concentric vent, intake around the outside, exhaust down the middle. All stainless which is nice.
|
|
|
|
|
10-24-2017, 11:48 AM
|
#187
|
|
Senior Member
Join Date: Oct 2014
Location: Seattle
Posts: 227
|
|
|
|
|
|
10-24-2017, 11:49 AM
|
#188
|
|
Senior Member
Join Date: Oct 2014
Location: Seattle
Posts: 227
|
|
|
|
|
|
10-24-2017, 01:01 PM
|
#189
|
|
Senior Member
Join Date: Jul 2011
Location: Tomball
Posts: 1,414
|
looks good, thanks for the update (this site, not your thread, was getting a bit stale)
__________________
Don R.
'04 Haulmark (M42386) 42', 2 slide, 10kw - Pictures
'04 F350 CrewCab Longbed 4x4, 50g aux tank & gear vendors dbl over
|
|
|
|
|
10-24-2017, 01:09 PM
|
#190
|
|
Senior Member
Join Date: Oct 2014
Location: Seattle
Posts: 227
|
Quote:
Originally Posted by bushpilot

looks good, thanks for the update (this site, not your thread, was getting a bit stale)
|
Yeah the whole 4 picture thing SUCKS!
I am way further along now.... But its hard to post with so few pics. my site is www.nwadventuretruck.com, its mostly up to date.
Ill get more here too, its just a long process at 4 pics per post.
|
|
|
|
|
10-25-2017, 11:03 AM
|
#191
|
|
Senior Member
Join Date: Feb 2009
Location: St. Paul, MN
Posts: 1,819
|
Quote:
Originally Posted by bushpilot
looks good, thanks for the update (this site, not your thread, was getting a bit stale)
|
Been having such a great summer, not enough time to post here.
__________________
'03 Freightliner FL112, 295" wheel base, with '03 United Specialties 26' living quarters, single screw, Cat C12 430 h/p 1650 torque, Eaton 10speed , 3.42 rear axle ratio
|
|
|
|
|
10-25-2017, 11:34 AM
|
#192
|
|
Senior Member
Join Date: Oct 2014
Location: Seattle
Posts: 227
|
Quote:
Originally Posted by Bob86ZZ4
Been having such a great summer, not enough time to post here.
|
It has been a good one!
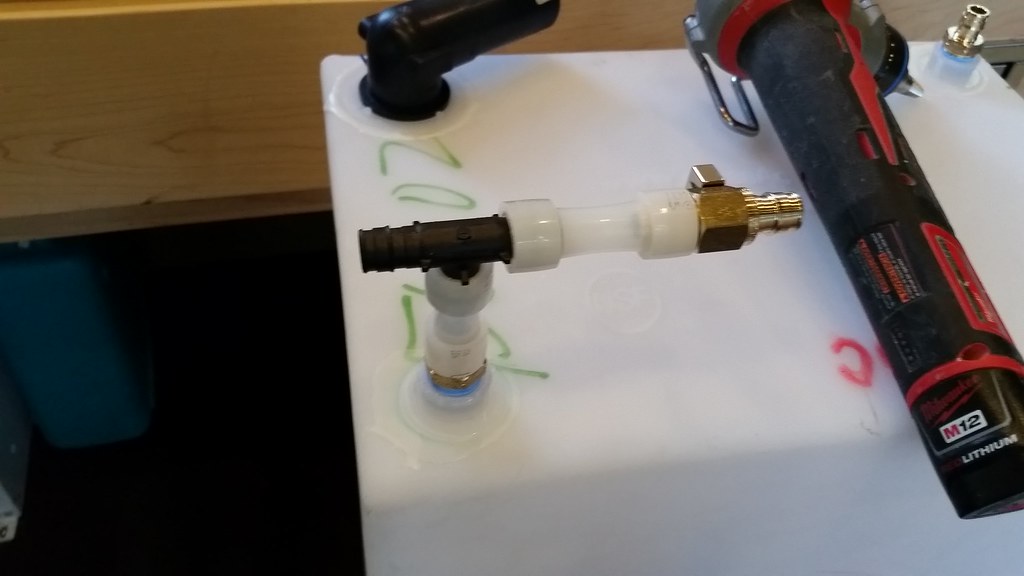
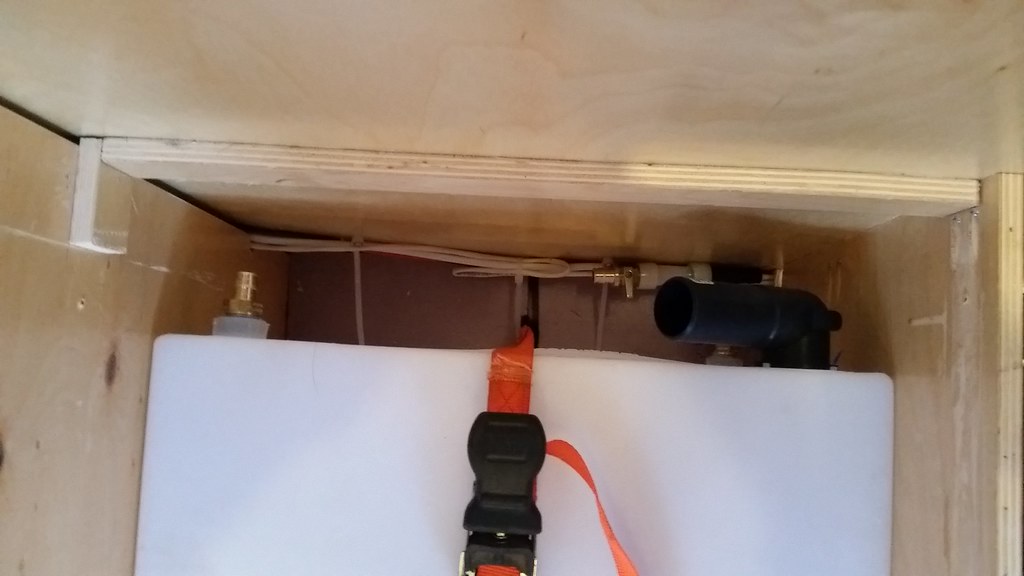
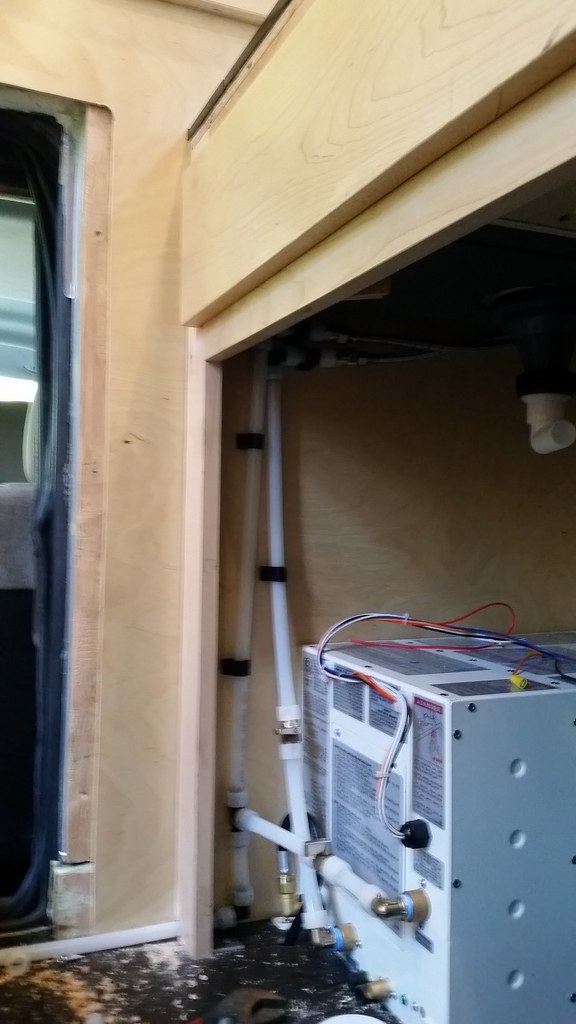
Water tank is in, strapped in place, and hopefully stays there. Glad I didn't get a bigger tank, no way I would have gotten the fittings on the end.
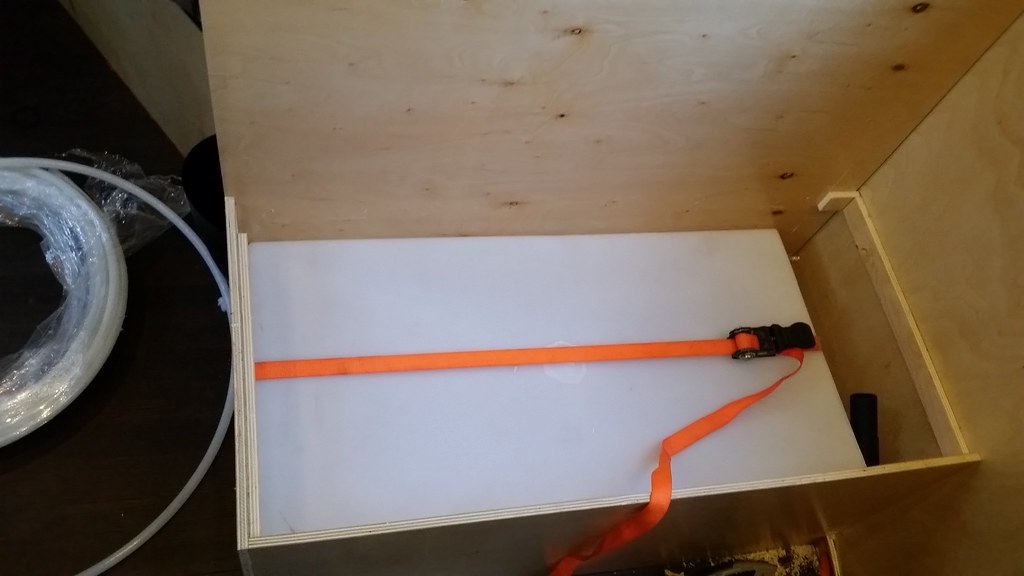
Water outlet, drain valve on the right will need to go down though the floor.
And in place, it fit exactly tight against the wall.
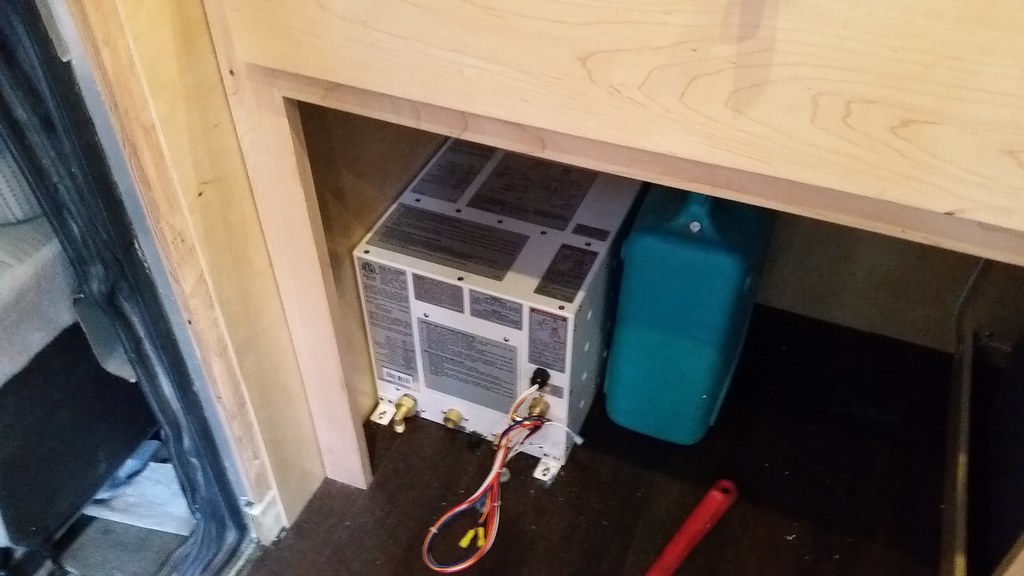
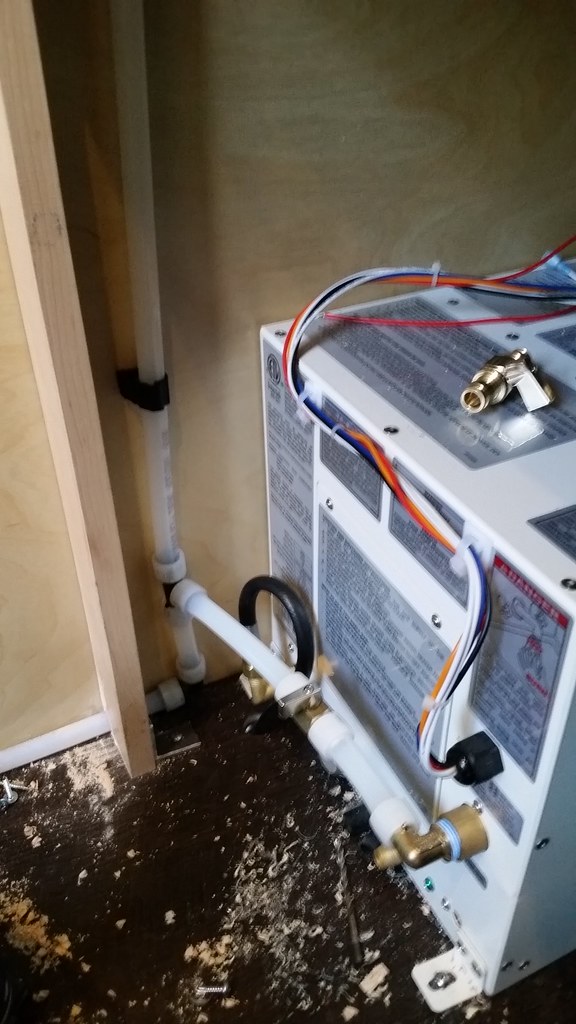
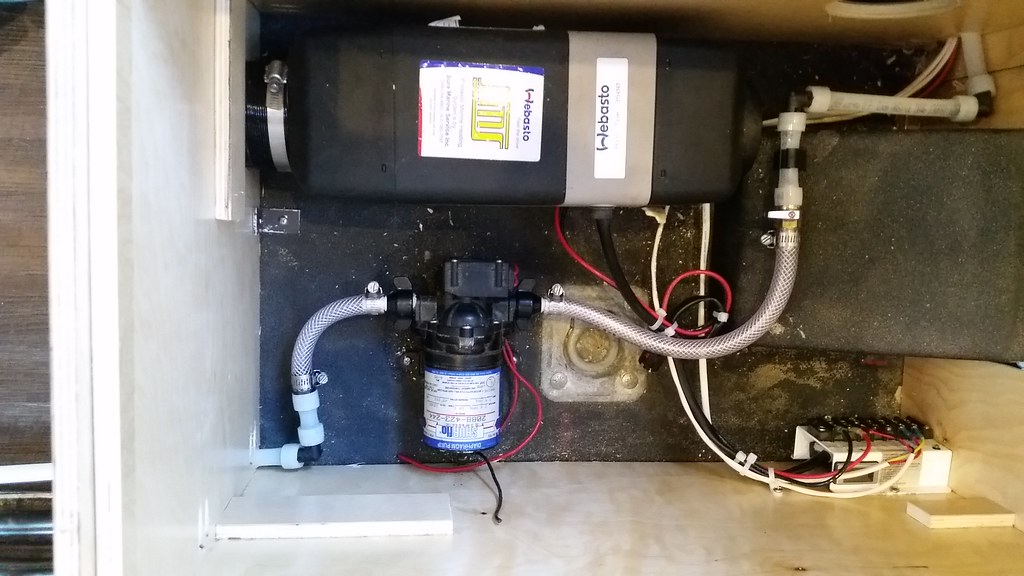
Water heater mounted, the blue can will be the grey tank.
I did get the water ran to the other dinette bench and to the valve before the water pump. But that was it. Man its tight and takes forever! All the rest of my pics are blurry....
|
|
|
|
|
10-26-2017, 07:23 PM
|
#193
|
|
Senior Member
Join Date: Sep 2015
Location: Tullahoma
Posts: 361
|
enjoying your pictures and of course your ski project
Thanks
Sam
__________________
2005 Renegade #1204 42 footer Columbia M3200CH-435,12 speed auto Cat 12 kw Genset, Roadtrip Mission in-mot Dish Network, Washer dryer combo, Jeep Liberty toad,1973 Cessna Skylane,1955 Chev 210 Belair survivor
|
|
|
|
|
10-26-2017, 07:24 PM
|
#194
|
|
Senior Member
Join Date: Oct 2014
Location: Seattle
Posts: 227
|
Glad your enjoying it! I'll post some more updates soon
Sent from my SM-G950U using Tapatalk
|
|
|
|
|
10-27-2017, 02:13 PM
|
#195
|
|
Senior Member
Join Date: Oct 2014
Location: Seattle
Posts: 227
|
Here is a recap on the thrash that was Friday. Whoever decided I needed to get the water done before we left was a little nuts.... Needless to say, the three hours I had planned for it wasn't enough. Oh well, I dragged my *** out of bed at 6:30 and got to work.
I had to connect the tank to the water heater, both of which were installed at this point, then do all the tank fill side of things, install the water pump, wire all that stuff, and do the grey tank. (yeah typing all that out reminds me three hours were not nearly enough, planned to work 7-10, cleanup and pack and leave at 12)
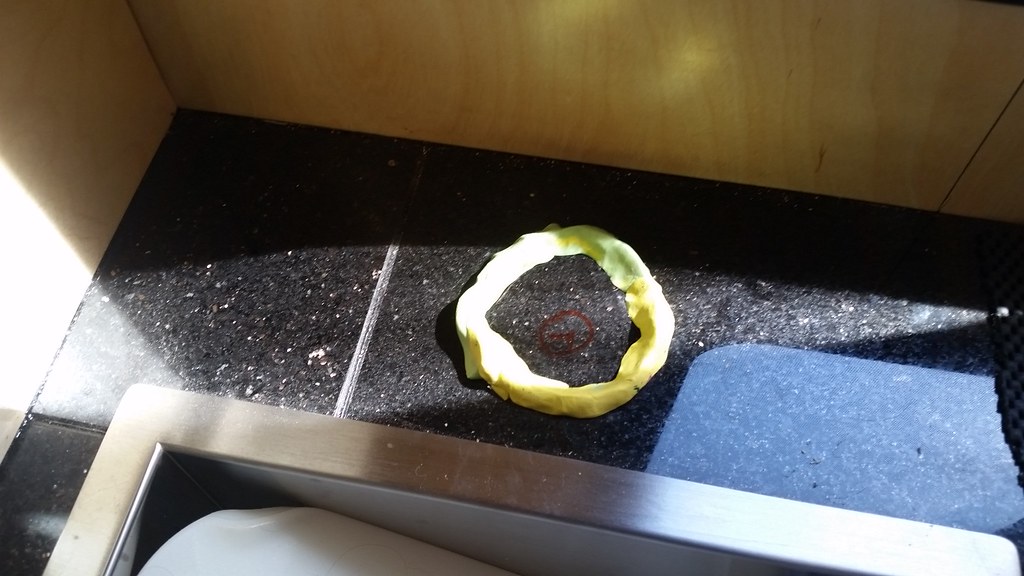
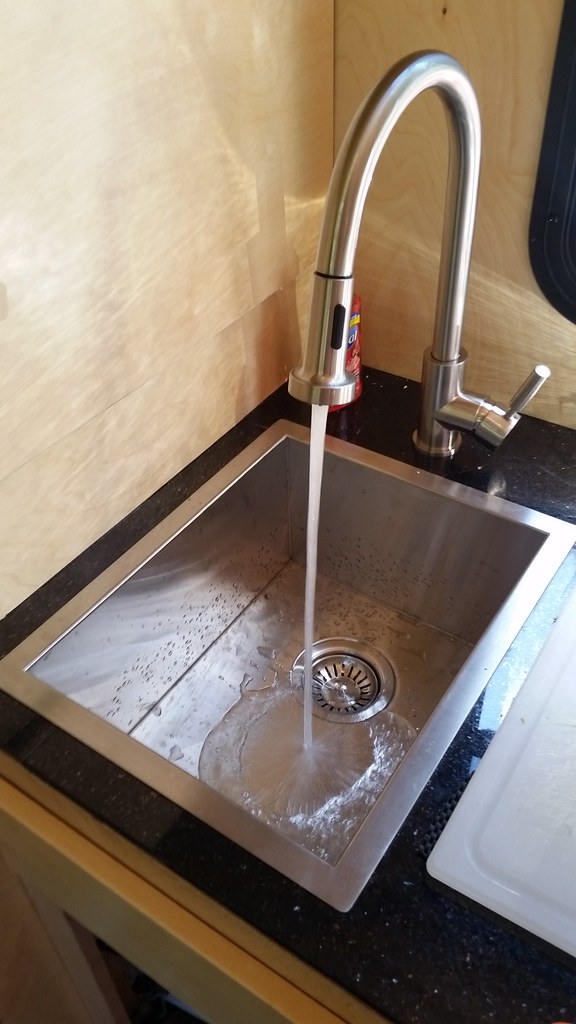
So to start we have to install the faucet. Kids oil based clay works great for making a dam.
Now you hope and prey you don't break the tile.
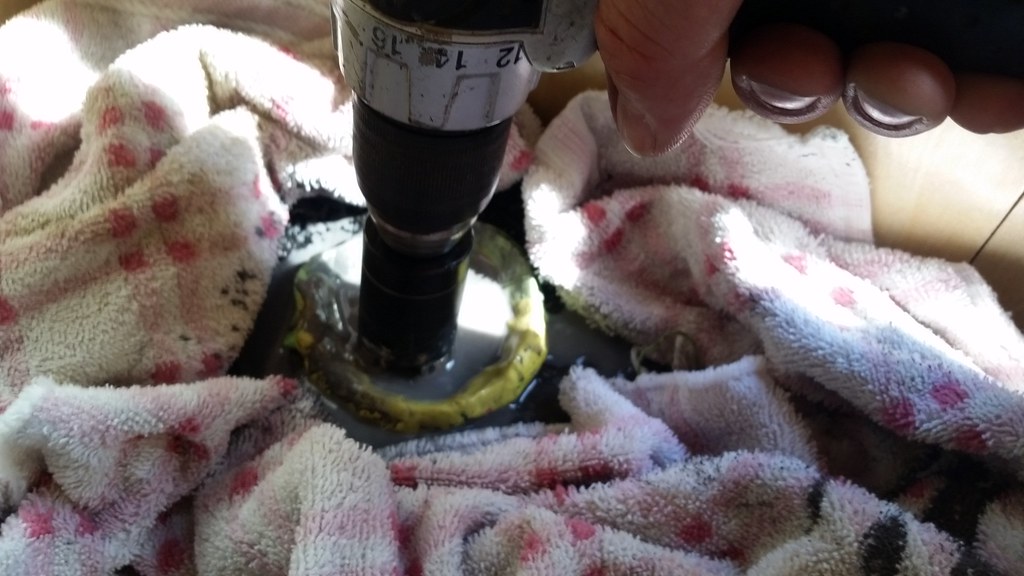
Breathe again....
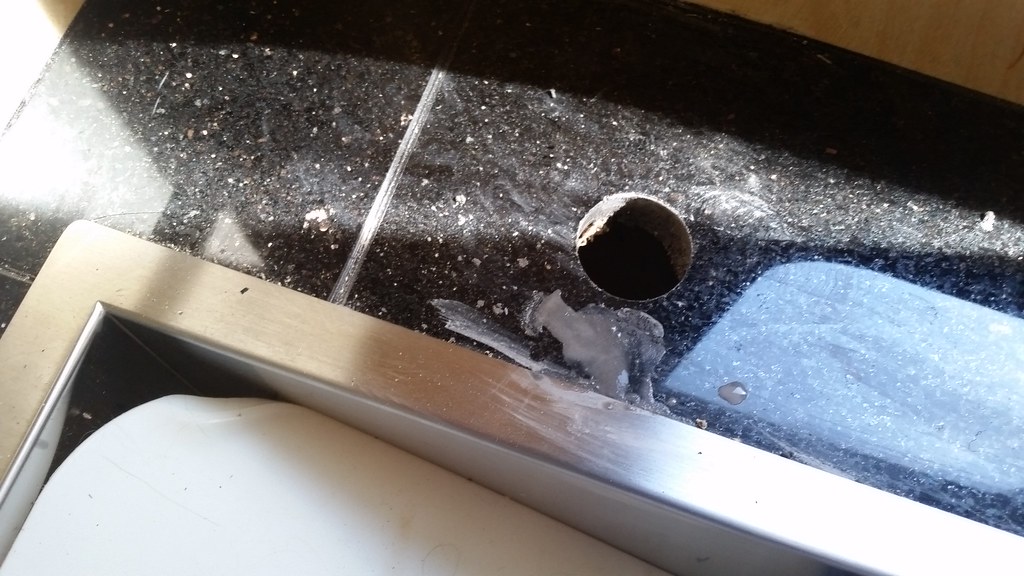
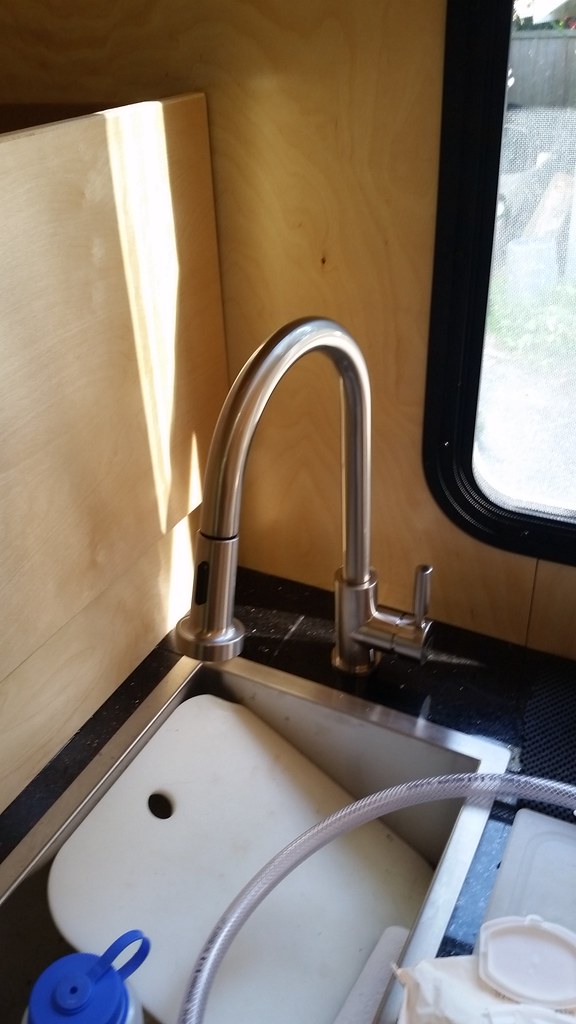
And drop the faucet in. One thing checked off the list.
|
|
|
|
|
10-27-2017, 02:23 PM
|
#196
|
|
Senior Member
Join Date: Oct 2014
Location: Seattle
Posts: 227
|
|
|
|
|
|
10-27-2017, 02:24 PM
|
#197
|
|
Senior Member
Join Date: Oct 2014
Location: Seattle
Posts: 227
|
Install fill and vent.
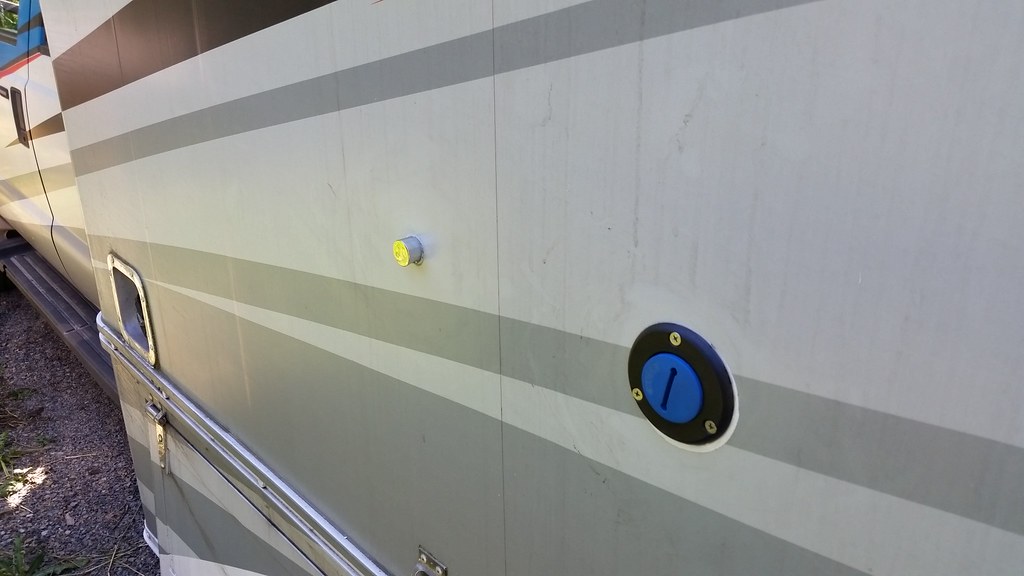
Add water. Chase leaks. I hate threaded fittings!!!! PEX is awesome though.
Hot water coming out!
Apparently I took zero pics of the grey tank. Its the blue jug, its a hose barb fitting off the end of the strainer basket, a piece of 1" vinyl tube. Works really well actually.
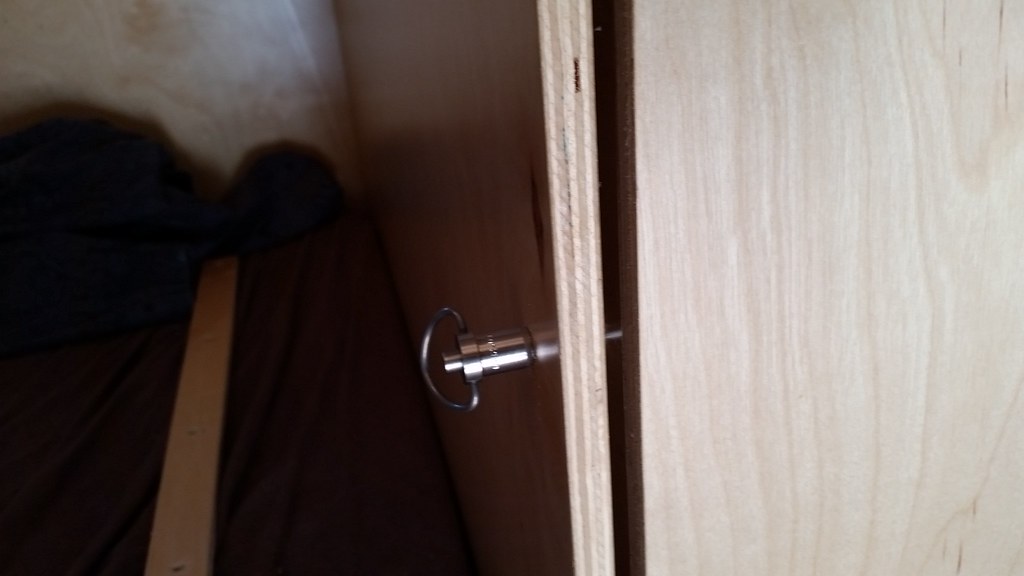
Also made a drawer latch. Drawer holds a lot of stuff and likes to fly open when you turn! Yeah not good. Ball detent pin, drawer stays closed.
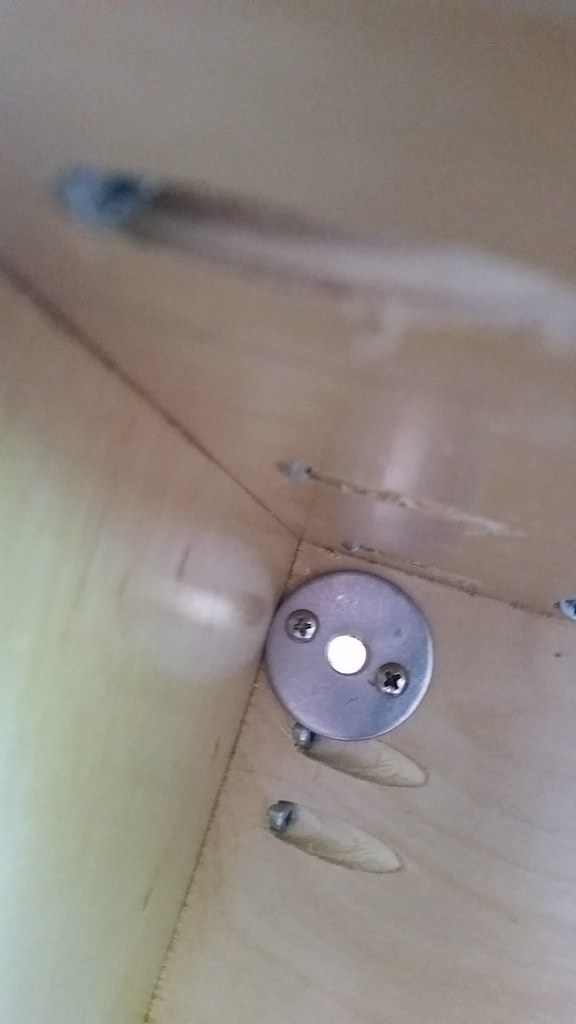
Reinforcement/latch plate on the inside.
Truck drove great all weekend, towed the boat at 70 no problem.
|
|
|
|
|
10-30-2017, 09:27 AM
|
#198
|
|
Senior Member
Join Date: Oct 2014
Location: Seattle
Posts: 227
|
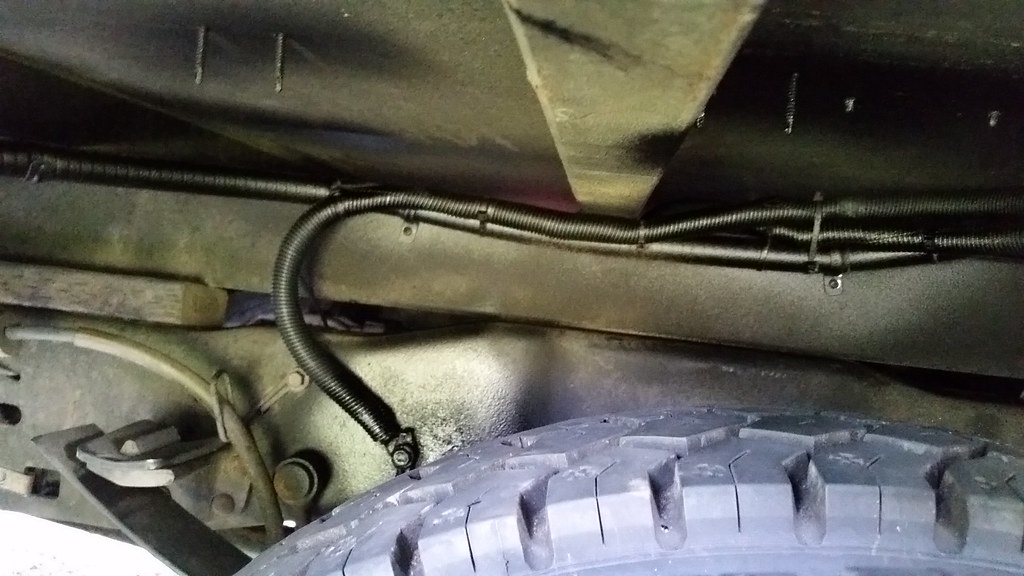
Who doesn't love a fresh roll of 2/0?! House battery wiring day

It took 25' to get front to rear. Wow that was not fun. Its oiled up well underneath.
Disappearing into the beast
But its loomed and run the whole way! Need to get come more end connectors and run the ground.
Ground run to the frame. Ground the paint off and used an existing bolt/ground spot.
|
|
|
|
|
11-01-2017, 09:49 AM
|
#199
|
|
Senior Member
Join Date: Oct 2014
Location: Seattle
Posts: 227
|
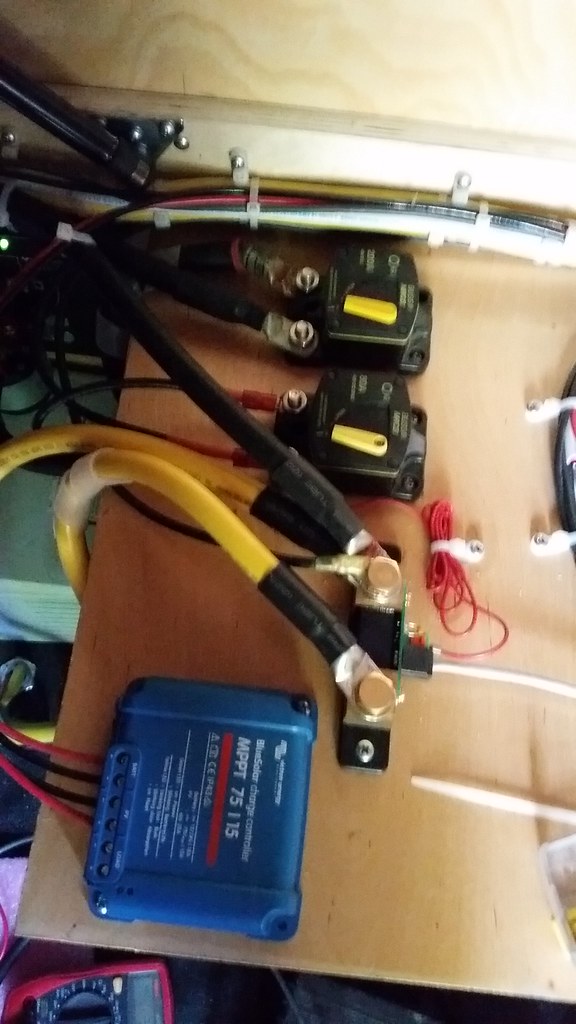
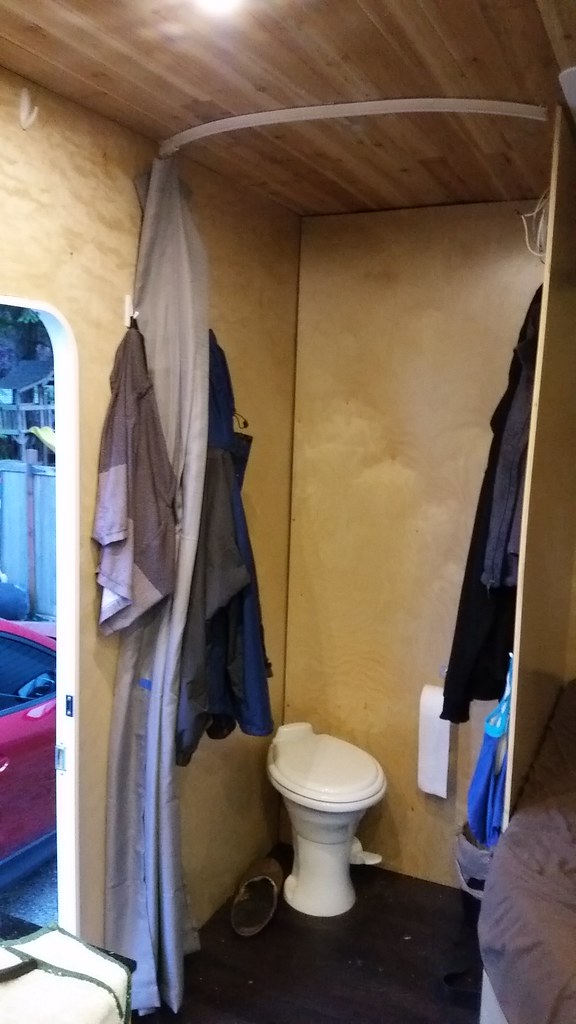
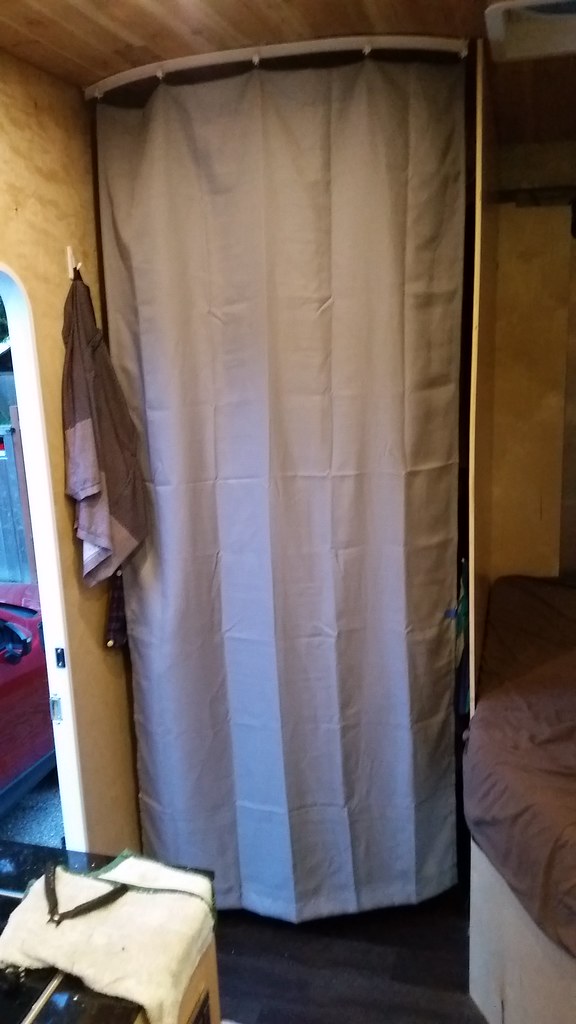
All the electrical goodies to make it all work.
And a curtain happened too. Yes the truck is dirty.... we are using it....
|
|
|
|
|
11-01-2017, 09:58 AM
|
#200
|
|
Senior Member
Join Date: Oct 2014
Location: Seattle
Posts: 227
|
Dinette Table acquired! A little skinny, but man it's going to look awesome!
It's from a local 98 year old Lebanese Cedar tree.


|
|
|
|
|
|
 Posting Rules
|
You may not post new threads
You may not post replies
You may not post attachments
You may not edit your posts
HTML code is Off
|
|
|
|
 » Recent Threads
 |
|
|
|
|
|
|
|
|
|
|
|
|
|
|
|
|
|
|
|
|
|
|
|
|
|


 Linear Mode


