 |
|
 01-24-2017, 12:06 PM
|
#61
|
|
Member
Join Date: Jul 2012
Posts: 57
|
Looks nice! We did an attic with the DIY kit and I was really impressed with how solid everything was afterward. What type of r value do they claim with this material?
__________________
|

|

|
|
01-24-2017, 12:11 PM
|
#62
|
|
Senior Member
Join Date: Oct 2014
Location: Seattle
Posts: 227
|
Quote:
Originally Posted by asitool

Looks nice! We did an attic with the DIY kit and I was really impressed with how solid everything was afterward. What type of r value do they claim with this material?
|
Installer claims ~7, online reading says 6.6-6.5 is more likely.
At 6.6, I have R 11.55 in the walls, and about 21.45 in the ceiling. Ceiling varies a bit more than walls, its anywhere from, 2.75-3.5" depending on how they sprayed.
__________________
|
|
|
|
|
01-31-2017, 11:17 PM
|
#63
|
|
Senior Member
Join Date: Oct 2014
Location: Seattle
Posts: 227
|
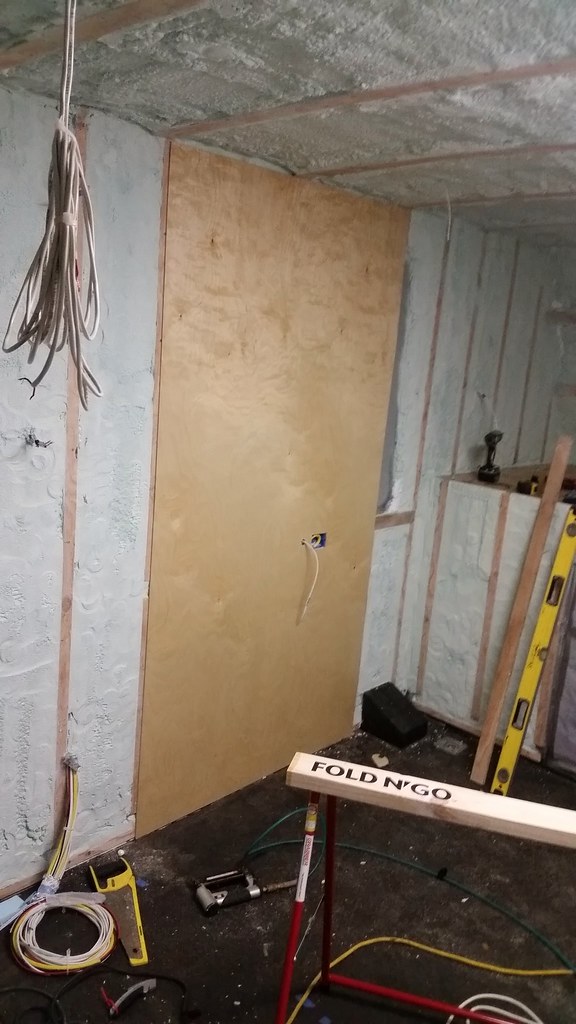
First panel up!!
|
|
|
|
|
02-03-2017, 11:53 AM
|
#64
|
|
Senior Member
Join Date: Oct 2014
Location: Seattle
Posts: 227
|
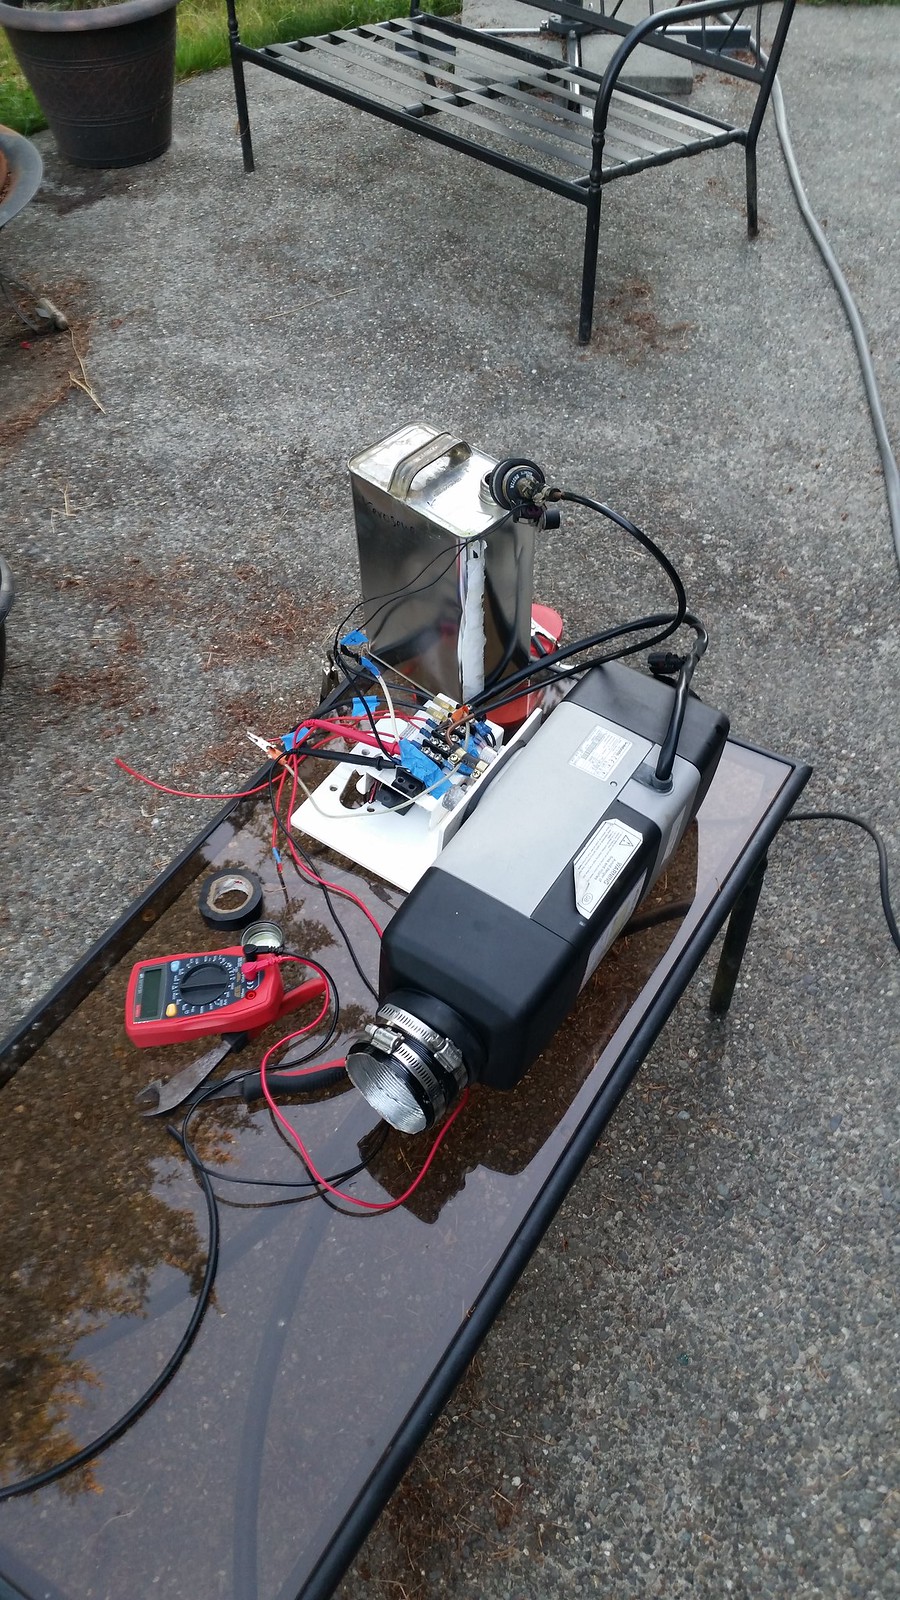
A couple more wall panels up.
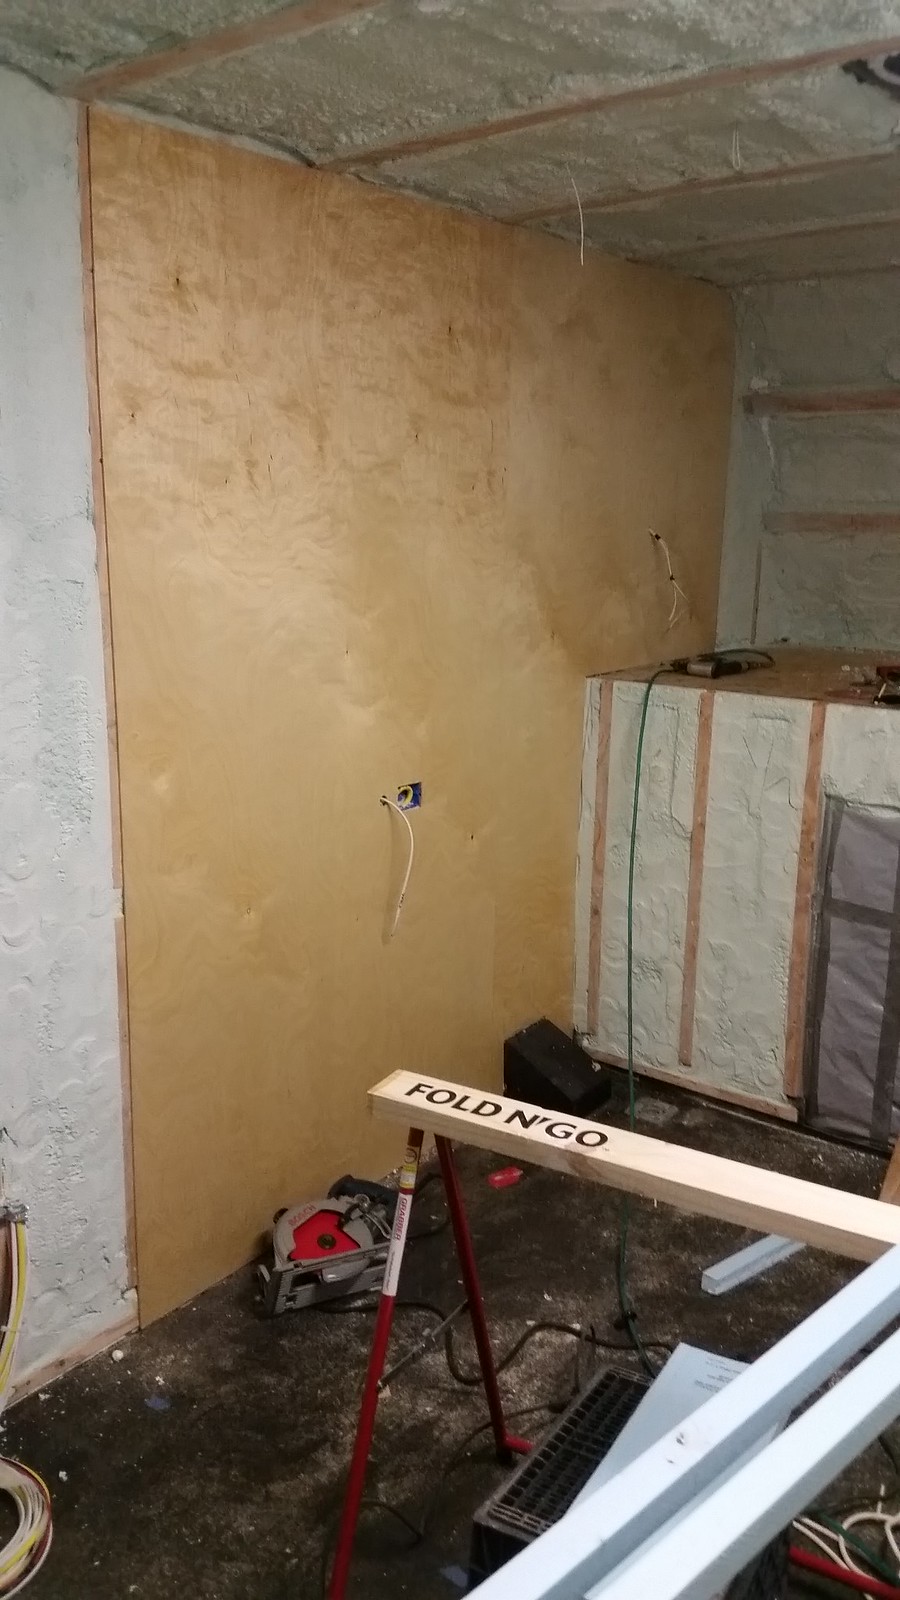
And the heater getting a bench run. Cant decide if I want to do a separate tank or pull from the main tank.
|
|
|
|
|
02-03-2017, 01:11 PM
|
#65
|
|
Senior Member
Join Date: Jul 2011
Location: Tomball
Posts: 1,414
|
Quote:
Originally Posted by Java230
And the heater getting a bench run. Cant decide if I want to do a separate tank or pull from the main tank.
|
do you have a room for a separate tank? where? how large?
seems to me filling another tank could be a PIA (especially if its not easily accessible).
why not put a pickup tube in the existing tank and cut it short (so that it can't drain the tank....and provides enough fuel for "escape" to a refueling station?
__________________
Don R.
'04 Haulmark (M42386) 42', 2 slide, 10kw - Pictures
'04 F350 CrewCab Longbed 4x4, 50g aux tank & gear vendors dbl over
|
|
|
|
|
02-03-2017, 01:15 PM
|
#66
|
|
Senior Member
Join Date: Oct 2014
Location: Seattle
Posts: 227
|
Quote:
Originally Posted by bushpilot
do you have a room for a separate tank? where? how large?
seems to me filling another tank could be a PIA (especially if its not easily accessible).
why not put a pickup tube in the existing tank and cut it short (so that it can't drain the tank....and provides enough fuel for "escape" to a refueling station?
|
Dropping the tank to add a pickup sounds like a pain in the ass too.... Im still on the fence.
I could sneak a tank in the back storage room, or under the floor line behind the body skirting. I need ~2 gallons ideally.

Something like this perhaps, 2.5 gallons, wall mounted, only 4.75" wide
|
|
|
|
|
02-03-2017, 01:40 PM
|
#67
|
|
Senior Member
Join Date: Jul 2011
Location: Tomball
Posts: 1,414
|
2 gallons doesn't seem worth the trouble.
what about VENTING that tank (wouldn't want the odor inside).
It's very easy to drop the tank on the ford....use a 2x10 or 2x12 the length of the tank
Place the board between the tank & a floor jack - the board will prevent the tank from flexing (and damaging the in-tank pickup) while you lower it w/ the jack.
__________________
Don R.
'04 Haulmark (M42386) 42', 2 slide, 10kw - Pictures
'04 F350 CrewCab Longbed 4x4, 50g aux tank & gear vendors dbl over
|
|
|
|
|
02-03-2017, 01:42 PM
|
#68
|
|
Senior Member
Join Date: Oct 2014
Location: Seattle
Posts: 227
|
Yeah, probably the best bet. Likely the route I will go.
|
|
|
|
|
02-07-2017, 10:46 AM
|
#69
|
|
Senior Member
Join Date: Oct 2014
Location: Seattle
Posts: 227
|
Pow was good. Well deep and heavy, but it was snow anyway. School was closed (Seattle, 2" of snow shuts the world down....) so we went skiing.
What are friends good for if not for snapping pics after your wipe out.....

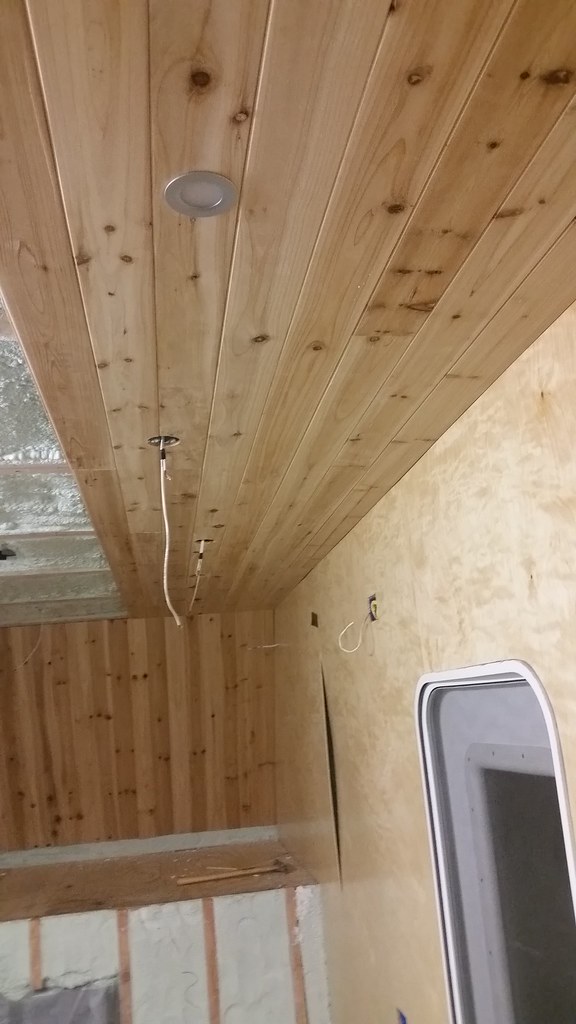
But I made some progress on the truck too. Put about 70 miles on it Sunday, picked up the ceiling material. Its going to be knotty cedar T&G. Smells delicious! But it was smoking again, I think it may be leaking oil onto the exhaust, but it seems to do it randomly. I need to crawl under it again and see whats up.
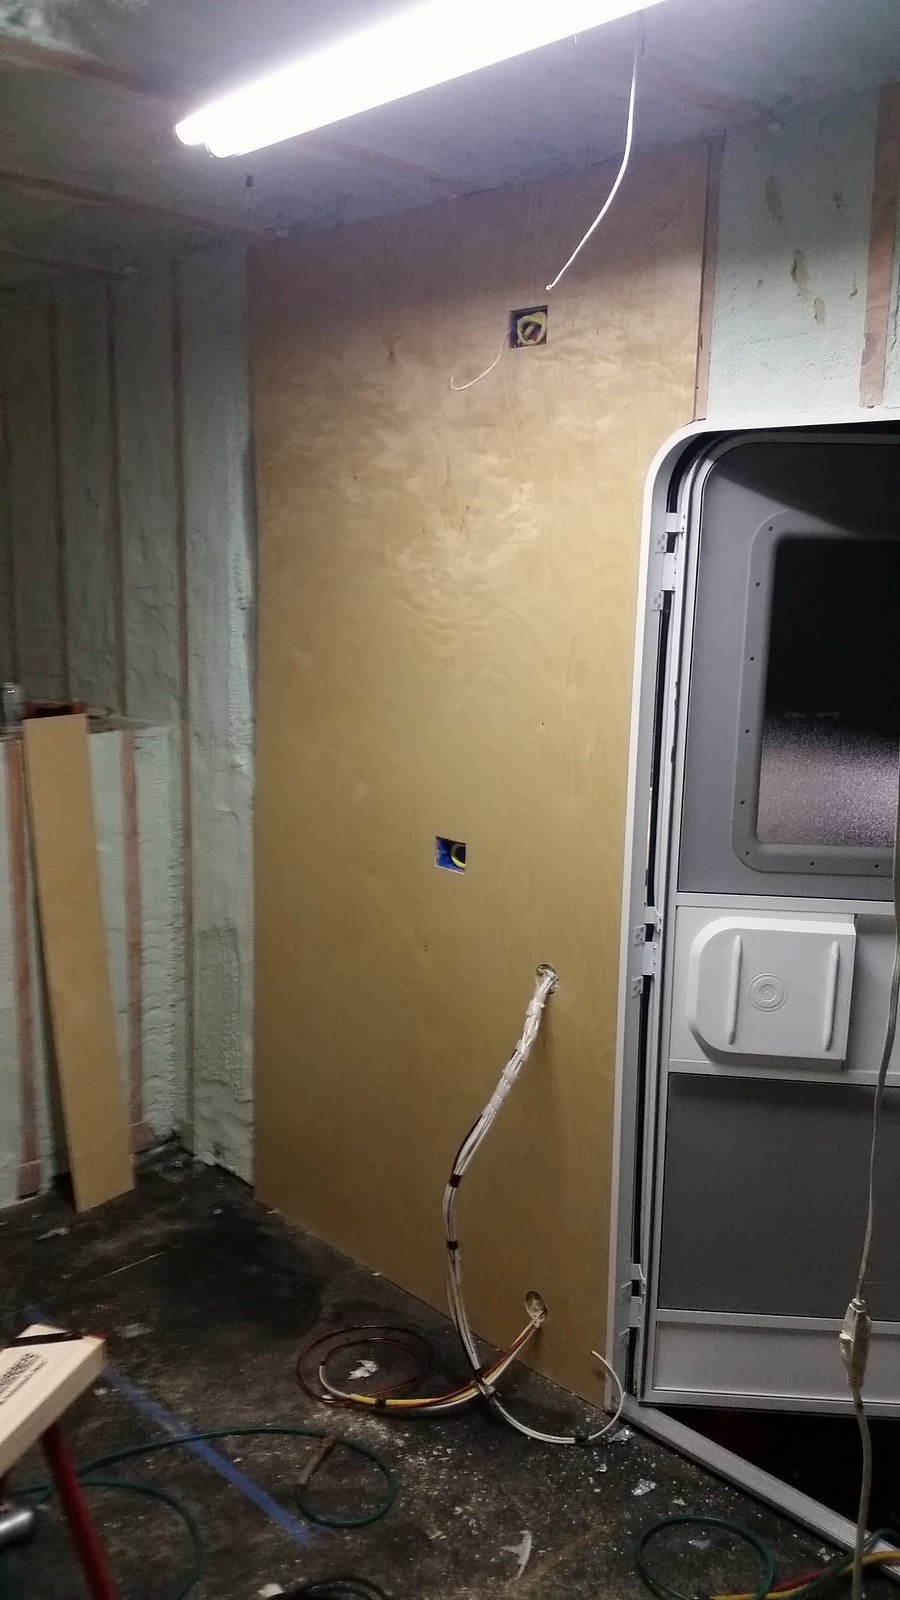
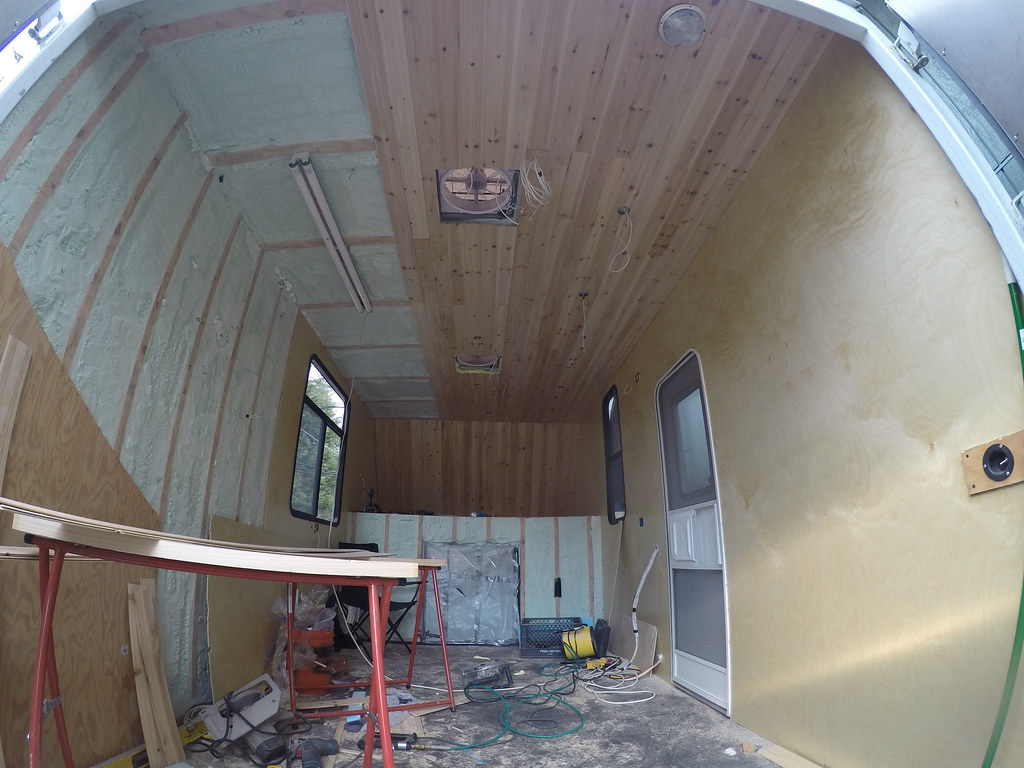
Drivers Side wall done
Ceiling started. Definitely a rustic cabin kinda look.
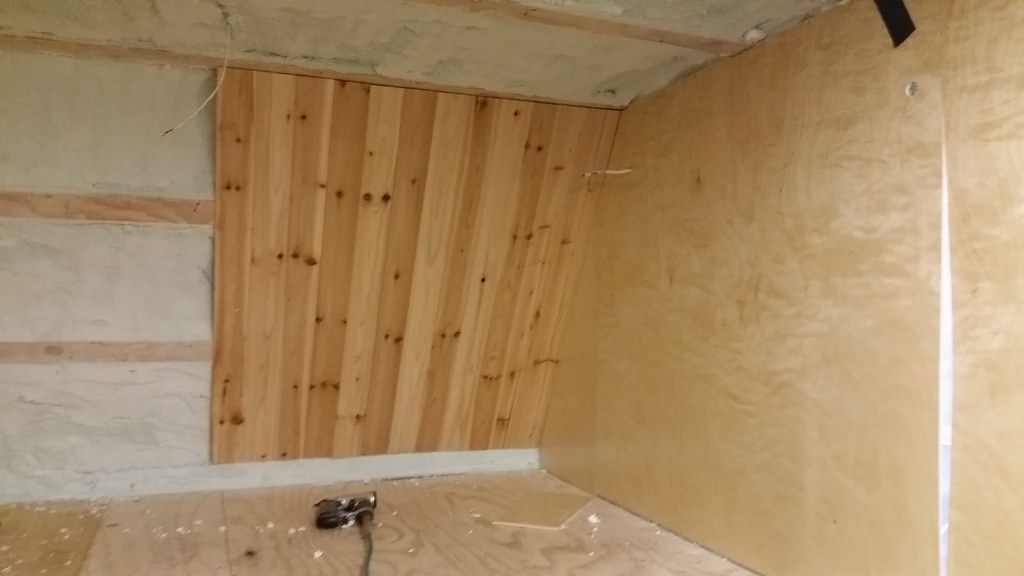
Test fit one of the lights Ill be using. I hope they are enough light! They are 3W 120lm each.
|
|
|
|
|
02-07-2017, 11:22 AM
|
#70
|
|
Senior Member
Join Date: Jul 2011
Location: Tomball
Posts: 1,414
|
love the cedar - but isn't all weight gonna add up?
__________________
Don R.
'04 Haulmark (M42386) 42', 2 slide, 10kw - Pictures
'04 F350 CrewCab Longbed 4x4, 50g aux tank & gear vendors dbl over
|
|
|
|
|
02-07-2017, 11:29 AM
|
#71
|
|
Senior Member
Join Date: Oct 2014
Location: Seattle
Posts: 227
|
Quote:
Originally Posted by bushpilot
love the cedar - but isn't all weight gonna add up?
|
Its 5/16 material. Its very light weight. I can pick up the whole stack of wood to do the whole ceiling. ~70lbs for all of it at most.
|
|
|
|
|
02-08-2017, 09:56 AM
|
#72
|
|
Senior Member
Join Date: Oct 2014
Location: Seattle
Posts: 227
|
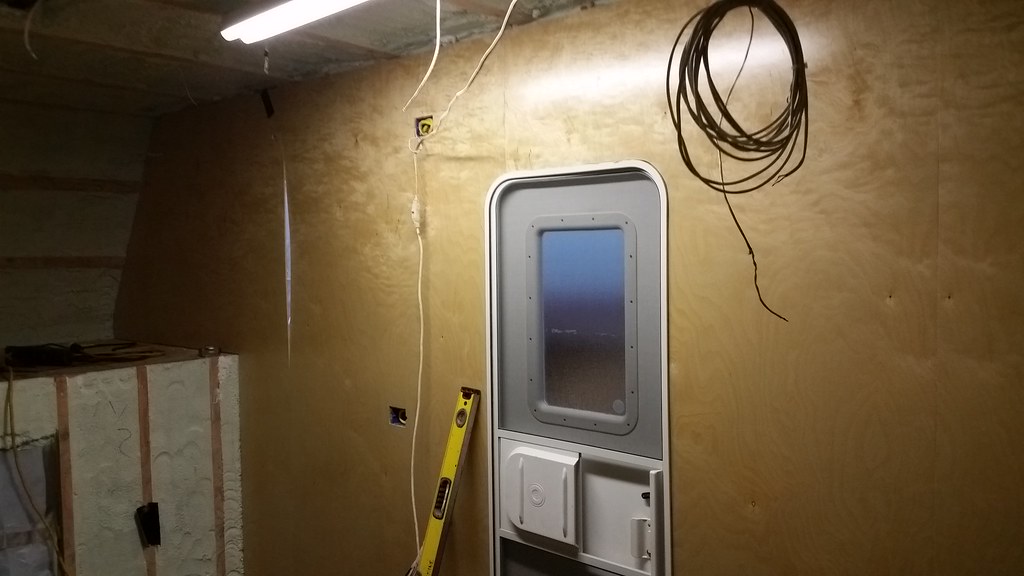
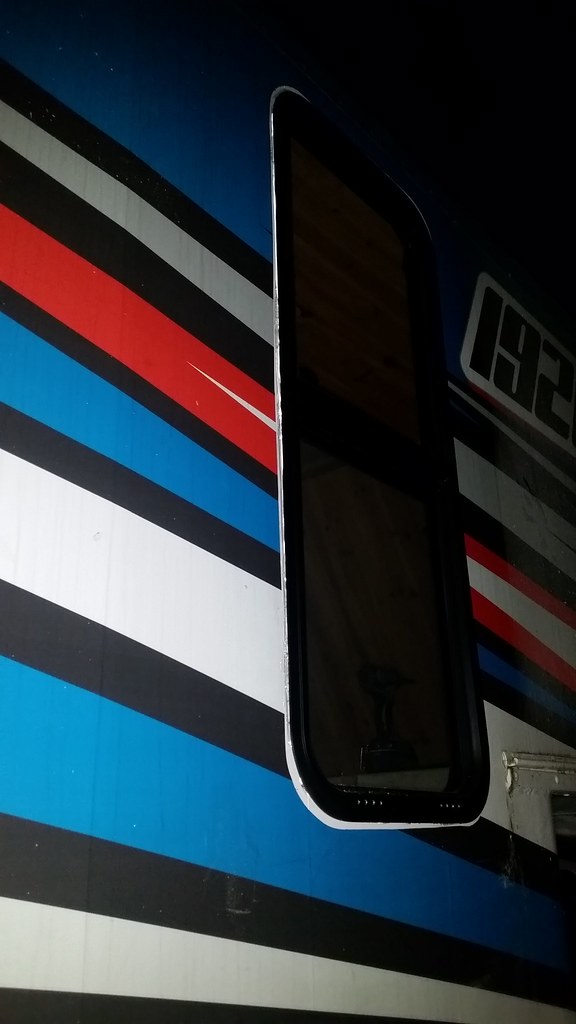
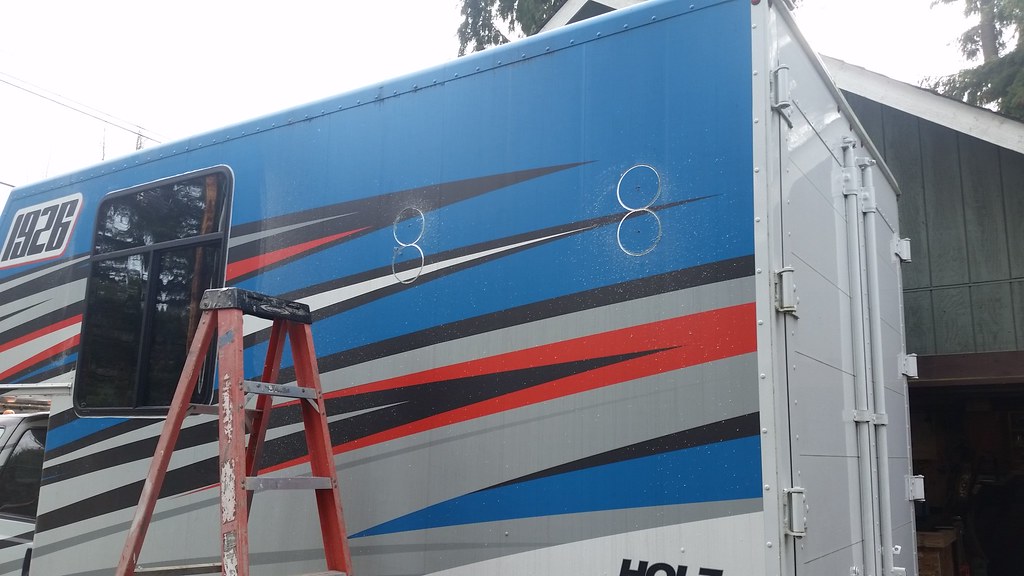
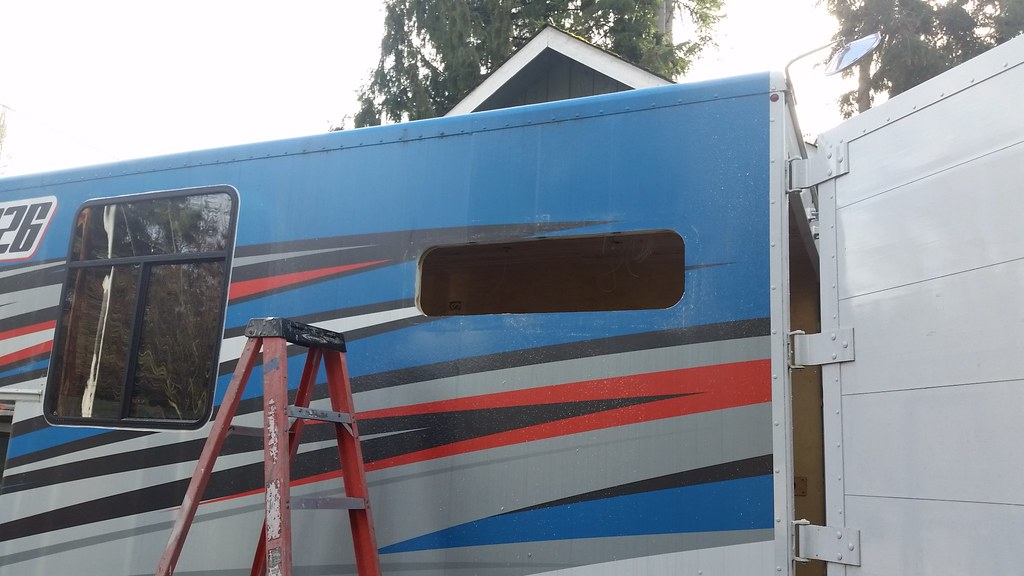
I was trying to get the two windows I have cut in yesterday as we are supposed to get 2" of rain today... I have had a cold coming on, and that sure didn't happen.....
I did get one in, and it was not fun. Turns out my walls are only 1 7/8" thick, not the 2" I planned on. And to make things worse the foam was a bit thin around the windows, this let the plywood bend in even more. So I have to cut a bunch of shims, and make things kinda the right thickness again. Then.... The wall has a big bow in it, vertically. So I couldn't just use the foam strip to install the window. Its glued in like a berklyer now. After getting that in I was spent. The good news is my new patterning bit for the router work great at cutting the holes.
Hole cut

Window in
it got dark....
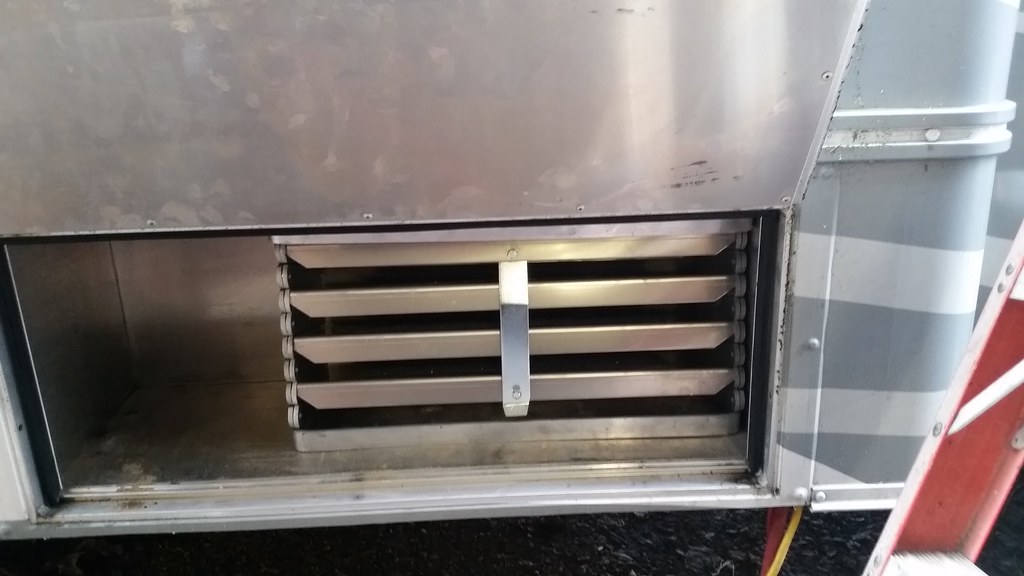
My stairs came though, and they fit in the under body box! It was close, but they fit.
|
|
|
|
|
02-08-2017, 10:04 AM
|
#73
|
|
Senior Member
Join Date: Oct 2014
Location: Seattle
Posts: 227
|
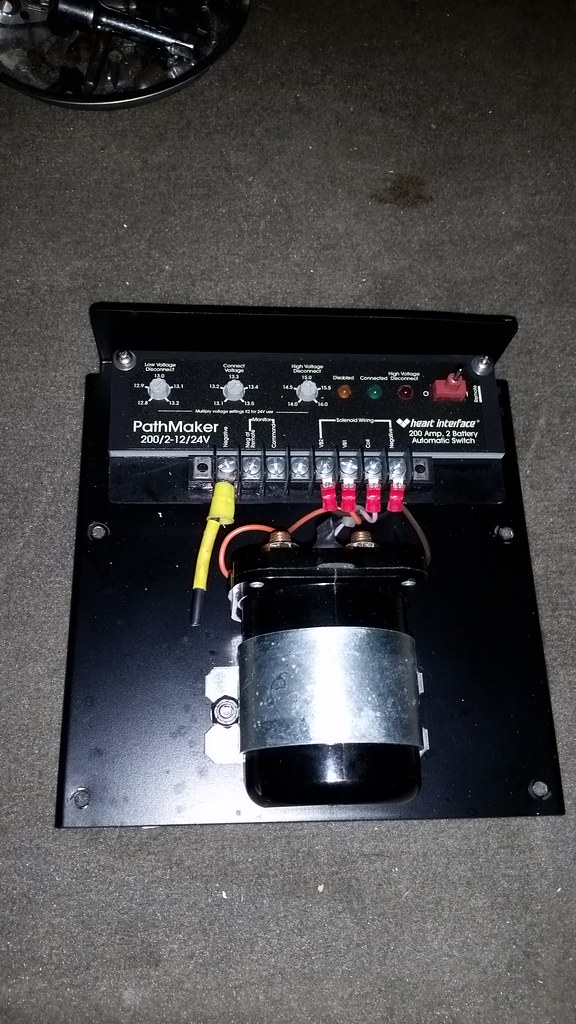
I also picked up a battery combiner, its rated for 200A continuous, so it should be up to the task. Another CL score, $20!
|
|
|
|
|
02-10-2017, 10:09 AM
|
#74
|
|
Senior Member
Join Date: Oct 2014
Location: Seattle
Posts: 227
|
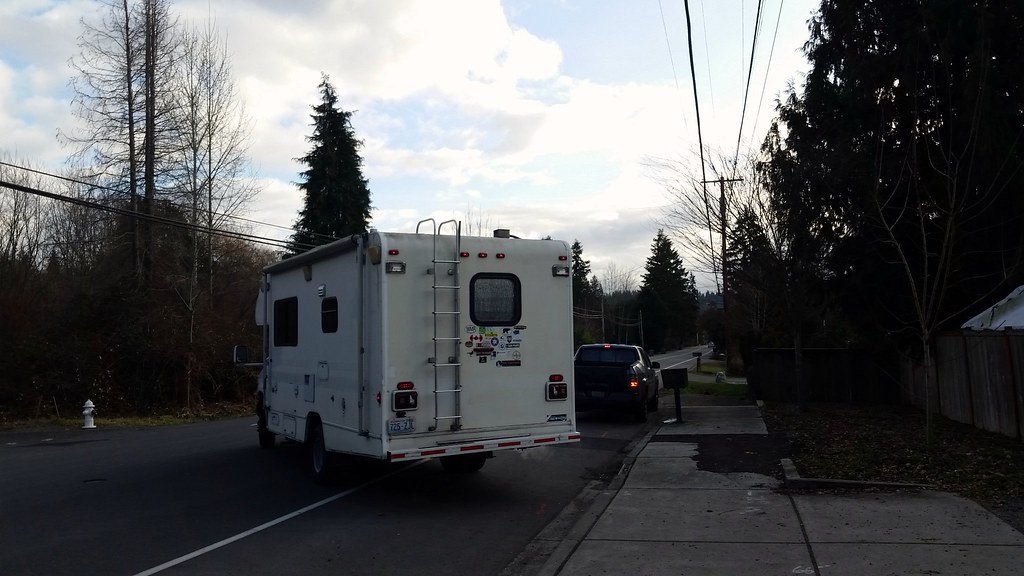
Not much progress as we have been cleaning the old truck out. Listed for sale yesterday... Bitter sweet for sure.
Stair bracket on.

Stairs. Yeah my garage is a mess and very full...

|
|
|
|
|
02-12-2017, 02:54 PM
|
#75
|
|
Senior Member
Join Date: Jan 2011
Posts: 527
|
I used the same type of windows on an old project. I know it is late in the game in your project with the spray insulation, but I framed between the inner and outer walls with wood all the way around so it would be solid when the window clamped in and the walls could not squeeze together and make the window loose. As far as the mismatch in thickness, my windows were surplus and I had the same issue. Just get a sheet of 1/8" thick whatever you can find and cut out a nice ring the same size as the window frame for a shim.
|
|
|
|
|
02-12-2017, 03:04 PM
|
#76
|
|
Senior Member
Join Date: Oct 2014
Location: Seattle
Posts: 227
|
Quote:
Originally Posted by hot rod
I used the same type of windows on an old project. I know it is late in the game in your project with the spray insulation, but I framed between the inner and outer walls with wood all the way around so it would be solid when the window clamped in and the walls could not squeeze together and make the window loose. As far as the mismatch in thickness, my windows were surplus and I had the same issue. Just get a sheet of 1/8" thick whatever you can find and cut out a nice ring the same size as the window frame for a shim.
|
Yep in hindsight I would have done that as well. I did use form solid shims in places all around. The windows seem to clamp in pretty well, but I will be doing the same as you, with an 1/8" shim. They are glued in place very well at this point too 
Should have the last window in today.
|
|
|
|
|
02-13-2017, 11:43 AM
|
#77
|
|
Senior Member
Join Date: Oct 2014
Location: Seattle
Posts: 227
|
Since the old ship has sailed, time to kick it in gear.
Good bye old friend. You will be missed.
Since its the time of the year it usually rains in the PNW, dry weekends must be used to their fullest.
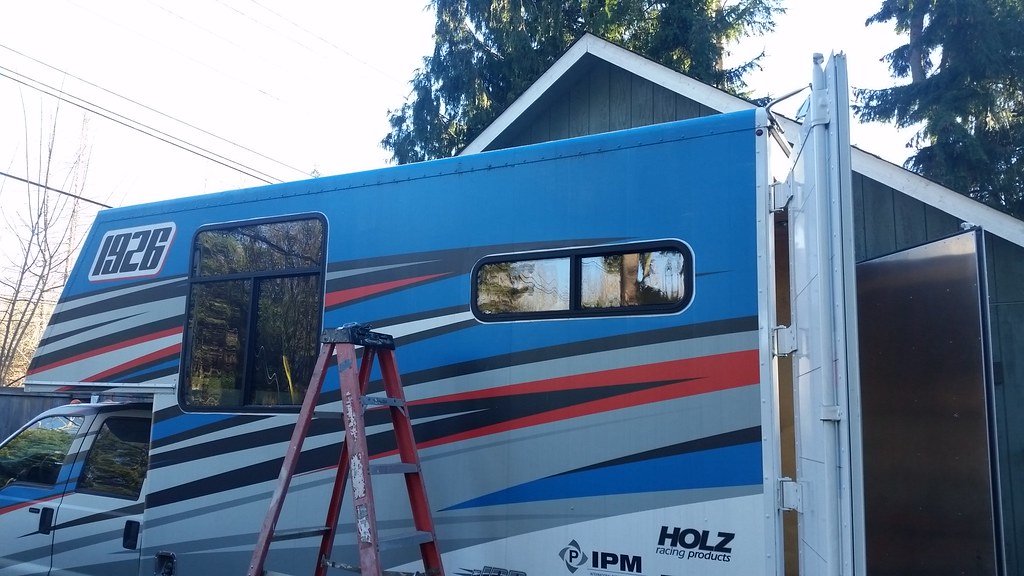
I was in a bit of a hurry, so not too many pics.... But window #2 is installed.

Window #3, drill 4 big holes. Connect the dots.
4 pics per post is getting old....
|
|
|
|
|
02-13-2017, 11:46 AM
|
#78
|
|
Senior Member
Join Date: Oct 2014
Location: Seattle
Posts: 227
|
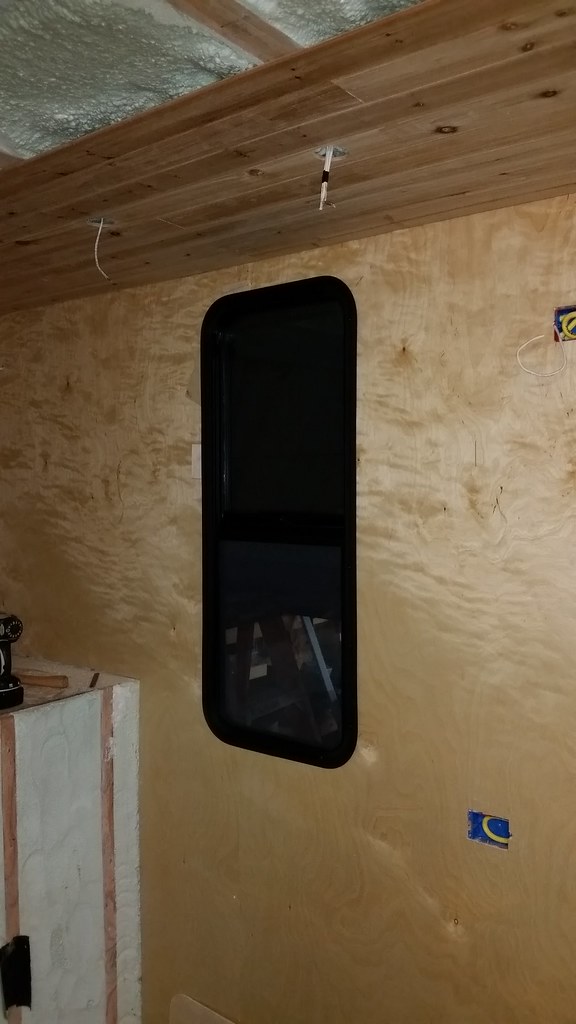
Cut and fit interior panels.
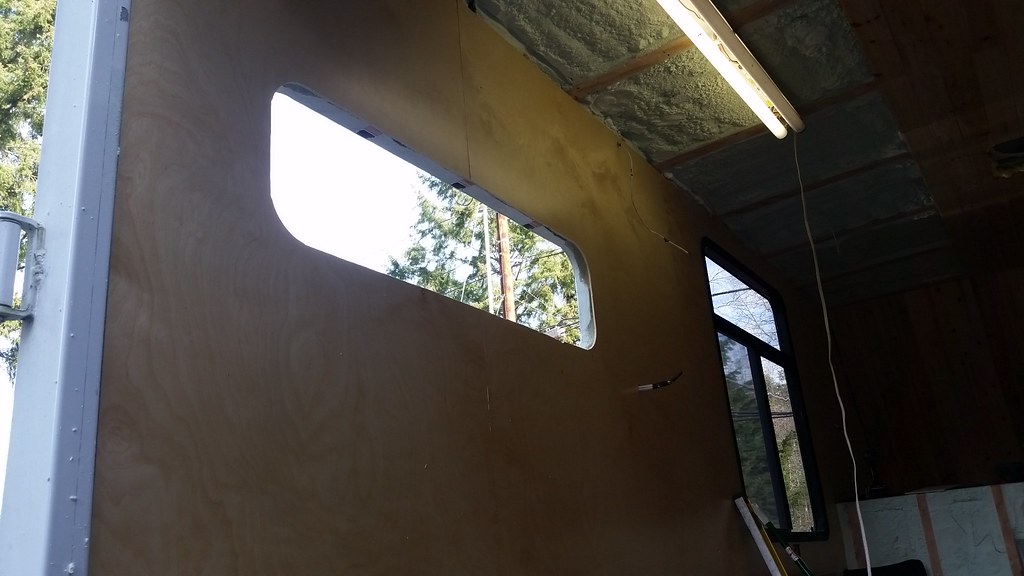
Slap in window.

|
|
|
|
|
02-15-2017, 10:54 AM
|
#79
|
|
Senior Member
Join Date: Oct 2014
Location: Seattle
Posts: 227
|
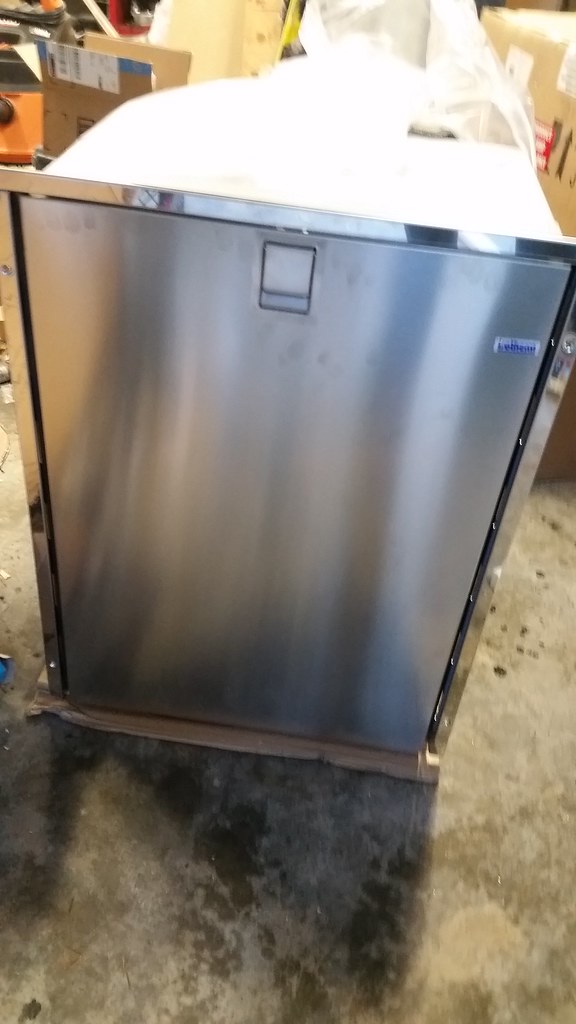
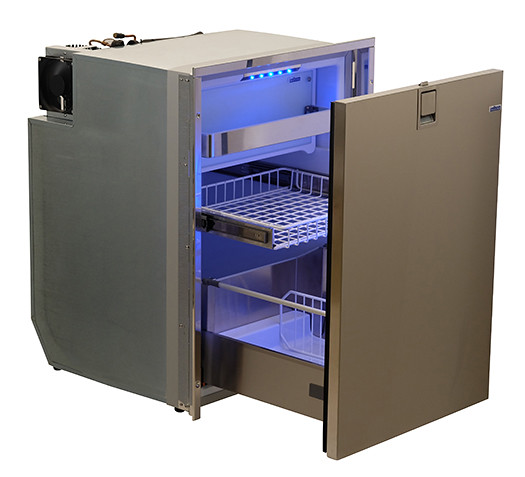
Fridge acquired. They only had one left in stock locally so it was snapped up. Isotherm (made by webasto) 4.7 cu ft drawer unit, which will be nice as its under the counter top, no getting on your knees to see in the bottom shelf. Its REALLY nice.... But my wallet hurts. Its a DanFoss compressor, 12v and 120V, burns 429 watts/24hr on avg.
|
|
|
|
|
02-15-2017, 10:55 AM
|
#80
|
|
Senior Member
Join Date: Oct 2014
Location: Seattle
Posts: 227
|
At the start of the weekend.
Made a little time lapse of the weekend.
[video=youtube;jT-EPChY_Xs]
|
|
|
|
|
|
 Posting Rules
|
You may not post new threads
You may not post replies
You may not post attachments
You may not edit your posts
HTML code is Off
|
|
|
|
 » Recent Threads
 |
|
|
|
|
|
|
|
|
|
|
|
|
|
|
|
|
|
|
|
|
|
|
|
|
|


 Linear Mode


